Office 365 offers organizations a powerful suite of collaboration and productivity tools. One of its key features is the ability to invite external users to collaborate on documents, projects, and shared resources. However, there may come a time when it is necessary to convert these external users into internal users, granting them full access to the organization’s Office 365 environment. In this article, we will learn the process to convert external user to internal user in Office 365. Plus we will cover the introduction to external users and benefits of converting them into internal users.
Contents
Understanding External Users in Office 365 and Benefits of Conversion
First, it is important to understand the concept of external users in Office 365. External users are individuals who are not part of an organization’s internal network but have been granted access to specific resources, such as SharePoint sites or Teams channels. While external users can collaborate and contribute, their access is limited compared to internal users. Converting external users to internal users enhances their access and integration within the organization.
Benefits of Conversion of User
Converting external users to internal users offers several benefits, including streamlined collaboration, improved security, and enhanced access to organizational resources. Internal users have access to a wider range of features, tools, and applications within Office 365, enabling them to work seamlessly with other team members. Additionally, it can enhance data security by ensuring better control over access and permissions.
Ways to Convert External User to Internal User
The conversion process can be done through two methods.
- Microsoft Entra Admin Center
- Using Microsoft PowerShell through Graph Module.
We are going to explore both methods one by one.
Convert External User through Entra Admin
Please follow the steps mentioned below carefully to convert external user to internal user through Microsoft Entra ID.
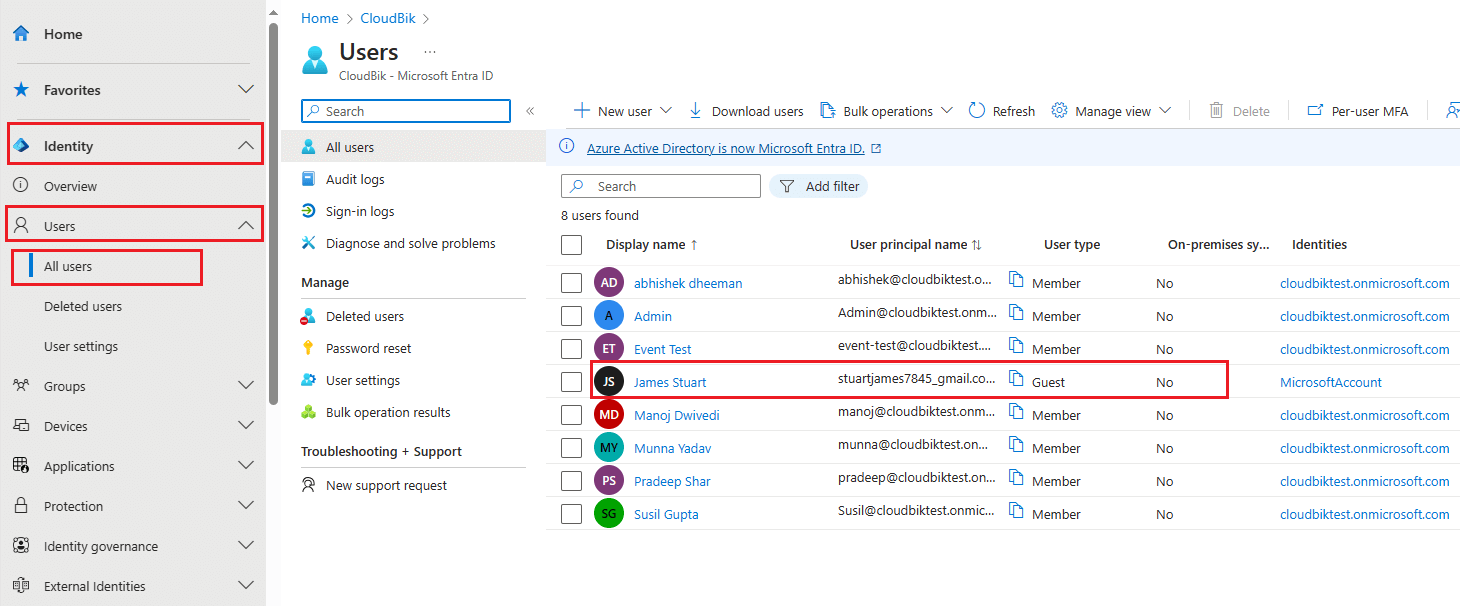
- Open microsoft.com and sign in with your admin credentials.
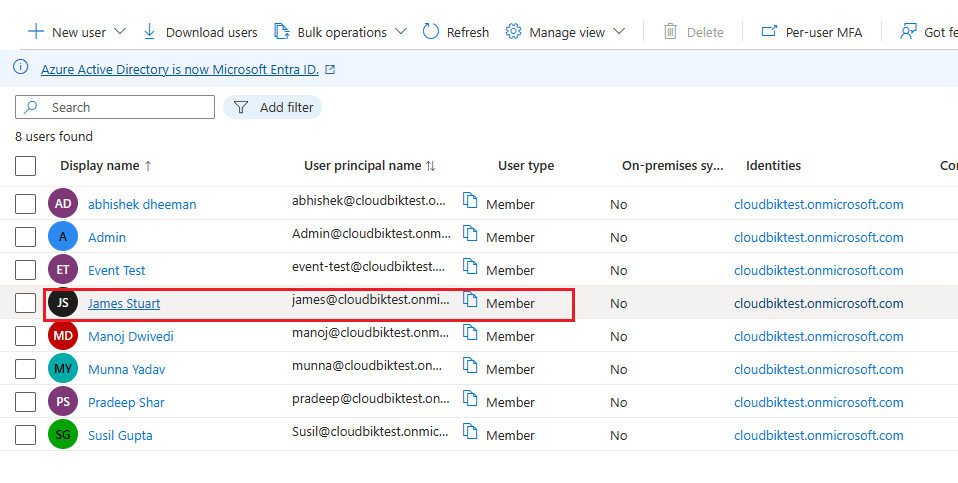
- Now click on identity then users and then all users. Once done, click on the guest user that you want to convert to internal user.
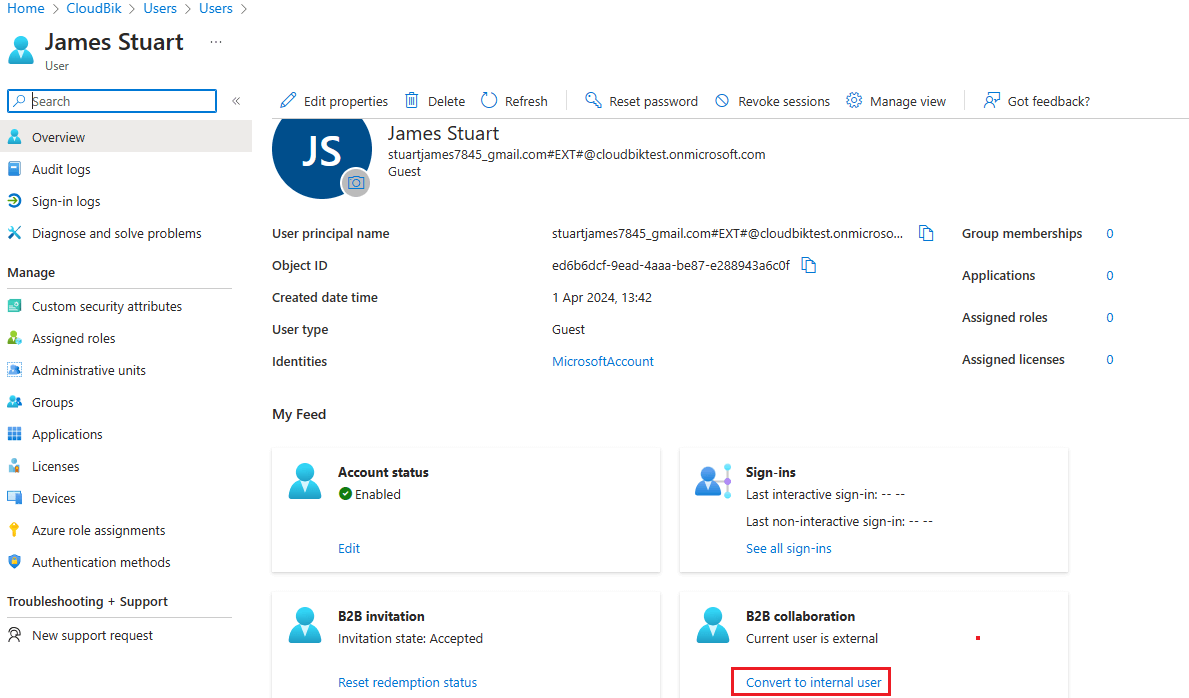
- User detail page will open, click on convert to internal user under B2B Collaboration.
- Fill the details like user principal name, password, etc. and click on the Convert.
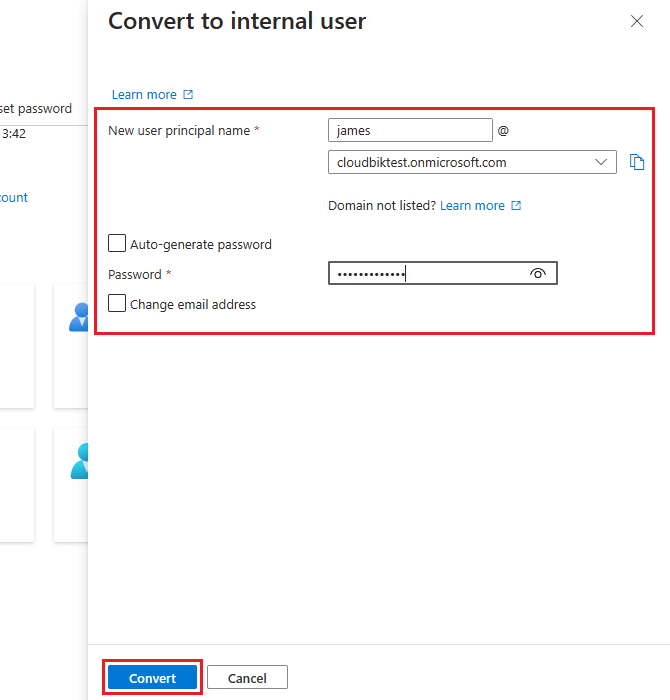
- Now the user is converted to the member.
Now, let’s see the Microsoft Graph PowerShell method.
Convert External User to Internal through PowerShell
First of all, you need to install Microsoft Graph PowerShell Module. For this Run Microsoft PowerShell as Administrator and enter the below command.
Install-Module Microsoft.Graph –Force
Once the Microsoft Graph PowerShell module has been installed, you are good to go with the further steps.
- Run the below mentioned script after changing the object id, UserPrincipalName and password.
Connect-MgGraph -Scopes "User.ReadWrite.All"


$ObjectID = "057e29e5-584f-3b25-sdc2-458753efa548"

$UPN = "[email protected]"

$Password = "Random123!"


# Create a JSON body template for the API request

$body = @{

userPrincipalName = "$UPN"

passwordProfile   = @{

password                      = "$Password"

forceChangePasswordNextSignIn = "false"

}

}


$uri = "https://graph.microsoft.com/beta/users/$($ObjectID)/convertExternalToInternalMemberUser"
Once you ran this command, you will see that external user is converted into internal user.
Conclusion:
Converting external users to internal users in Office 365 can greatly enhance collaboration and streamline communication within your organization. By following the step-by-step methods explained in this blog, you can seamlessly bring external users into your Office 365 environment, granting them the same privileges and access as internal users.

