Are you looking to create your own Windows virtual machine (VM) for free? If so, then you have come to the right place. Azure makes it easier than ever to create a free Virtual Machine running on Windows Server, Windows 10, etc. with fast machine creation, easy scalability, and cost-effectiveness.
Azure’s free trail allows users to deploy a VM without incurring any up-front charges. In this guide, we will explore how to get set up with your own free Windows Virtual Machine on Azure. Let’s see an overview first.
Contents
What is Windows Virtual Machine and how it Works?
Virtual machines are powerful cloud computers that provides users to run multiple operating systems on a single physical computer. They enable users to create and access multiple ‘computers’ within a single physical machine, giving them the power and flexibility to run multiple operating systems. Essentially, windows virtual machines use virtualization technology to create isolated ‘virtual’ versions of computer systems, offering users all the features and benefits of a regular computer.
So how do virtual machines work? In simple words, VMs replicate a physical computing environment within a software system, allowing processes to run as if they were on dedicated hardware. This allows computers to run multiple operating systems with each virtual machine isolated from the others. Thanks to windows virtual machines, users can now enjoy complete control over all their computing needs, while saving time and money.
Steps to Create Windows Virtual Machine (VM) in Microsoft Azure
First of all, you need to sign up for free Azure account, if you do not have one. Once created you can follow the below mentioned procedure.
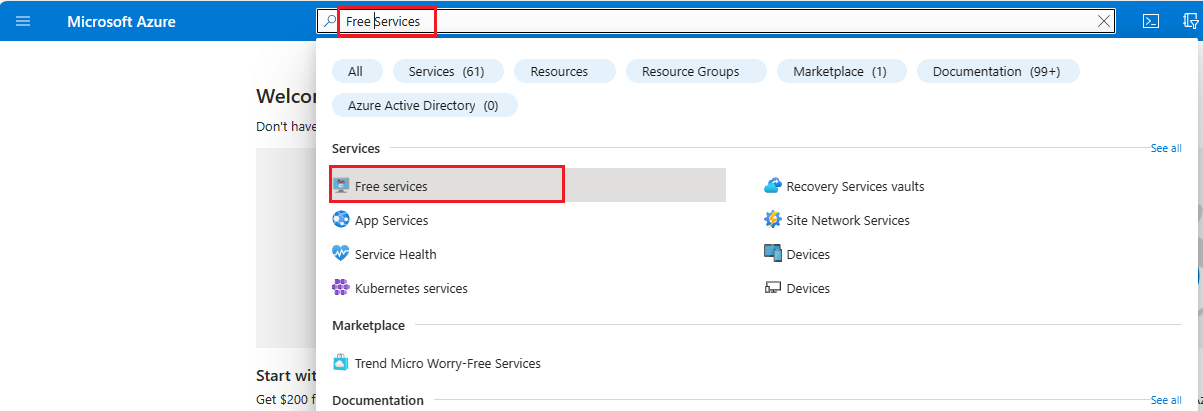
- Search for free services and click on the free services in the result.
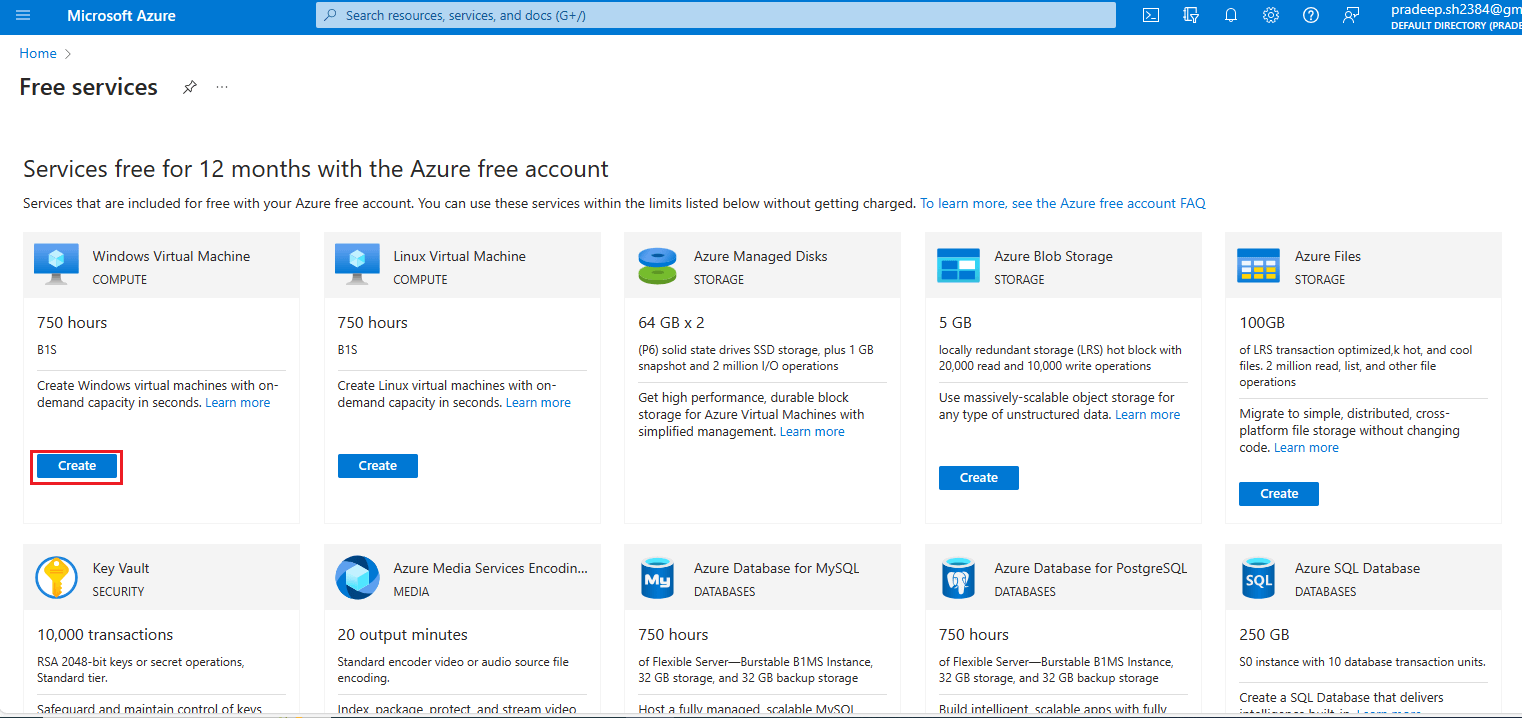
- Now click on the Create under Windows Virtual Machine. Also, you can check out about the other free services provided by Microsoft Azure free for 12 months. Some services are free for lifetime.
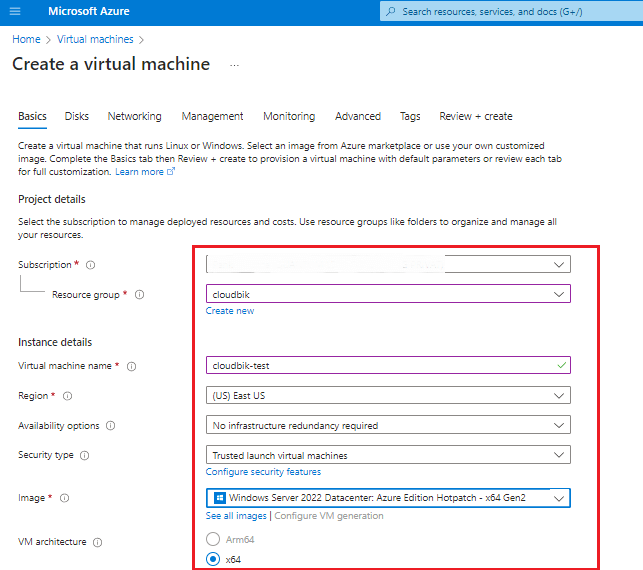
- In the basics tab, you need to fill all the details mentioned below.
- Subscription- select your azure subscription.
- Resource Group- Create a new resource group and select it. Also, you can choose the previous one if created earlier.
- Virtual Machine Name- Type any name you want to use.
- Region- Select your region.
- Image- Select the image like Windows Server 2022, Windows 10, etc. If you are creating virtual machine for exchange server, you need to choose Windows Server image.
-
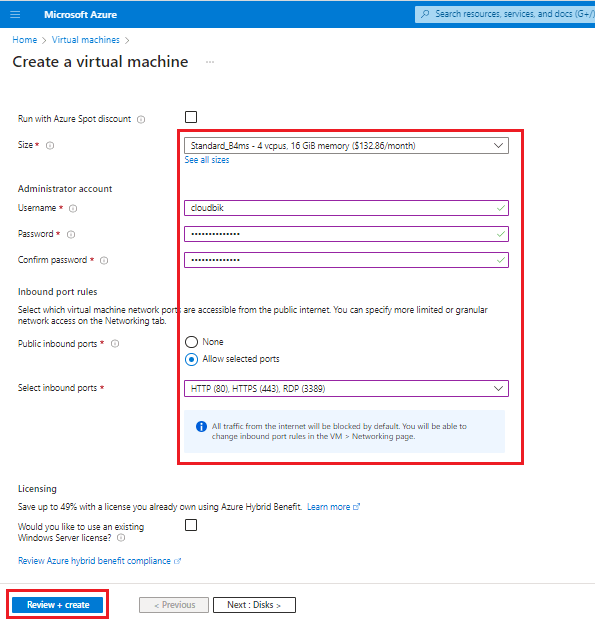
- Size- Choose the preferred size from the drop-down menu.
- Administrative Account- Create username and password
- Public Inbound Ports- Choose Allow Selected Ports.
- Select Inbound Ports- Select HTTP, HTTPS and RDP.
- Once everything done click on Review + Create.
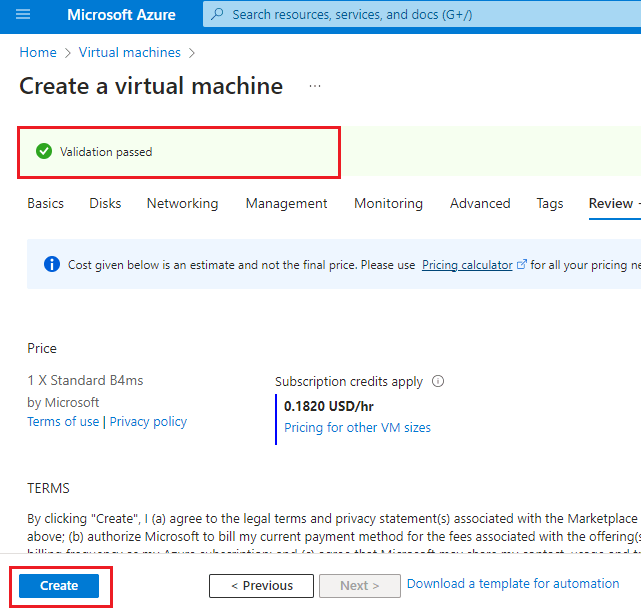
- You will be redirected to the Review and Create Tab. Once the Validation passed, click on create button to create the Windows Virtual Machine.
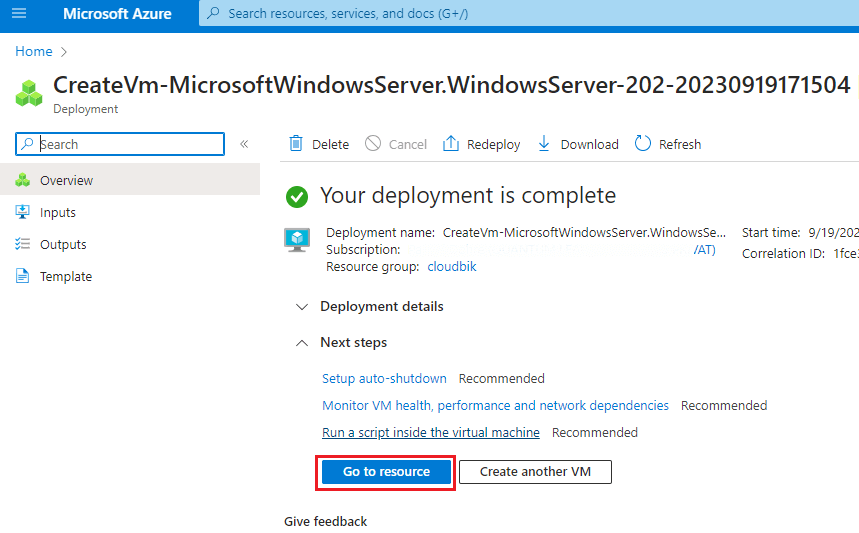
- Once you click on the create button, it will initialize the process of the Azure VM creation and within few minutes it will be ready to use. Now, you need to download the RDP file. Click on the Go to Resource.
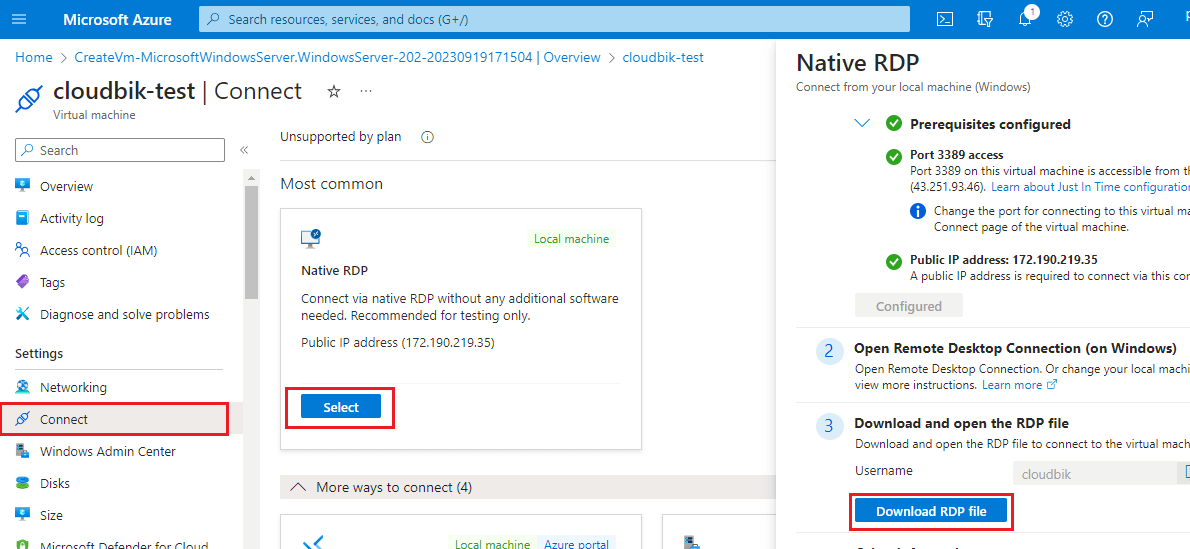
- Click on the connect in the left sidebar, select Native RDP. In the right sidebar a window will open, Click on the Download RDP file. It will be needed to connect to your free Azure VM.
Connecting to the Azure free Cloud Virtual Machine
We can connect to the created Windows Virtual Machine through two ways. One is using the RDP file, and another is by Remote Desktop Connection application.
- Using the Downloaded RDP file.
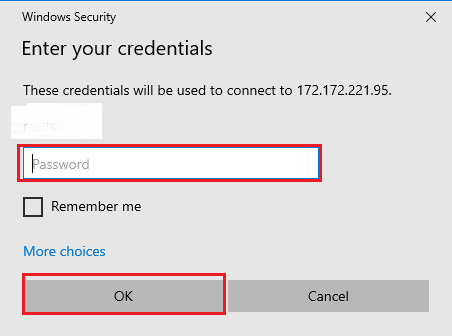
Double click on the downloaded RDP file and enter your credentials and click on Ok button to connect and enter into the Windows Virtual Machine.
- Through Remote Desktop Connection application.
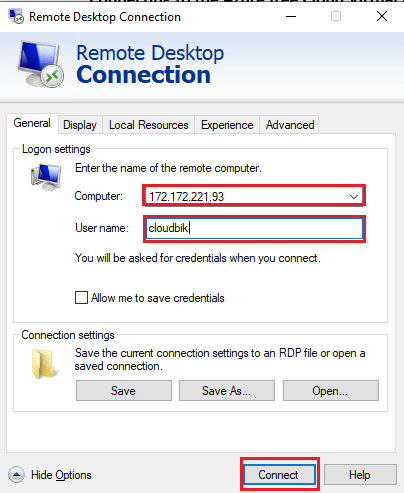
Open the Remote Desktop Connection application. In the computer name type the Public IP address of the Virtual PC. Provide your username and click on the connect button. Once done, it will ask you for the password, provide it and connect to your Windows Virtual Machine.
Conclusion:
Creating a Windows Virtual Machine in Azure is free and easy. With a few simple steps, you can have your own virtual machine up and running in no time. Whether you are a beginner or an experienced user, you can easily setup Azure VM in no time. No matter your purpose, you’ll be glad to have your own dedicated space in the digital world with the help of Azure.
Read More: How to Recall an Email in Outlook – Unsend Wrong Mail