Office 365 distribution lists offers users to send emails to a group of people without typing their emails. It is an amazing features that removes the hassle of sending same email to multiple peoples one by one. Office 365 Administrator can easily create a distribution list and add members to it. It provides us with a group email address that contains multiple recipients. In this blog, we will see how to add distribution group members using admin center and Windows PowerShell.
Ways to Add Distribution Group Members in Office 365
We can add members to the distribution list or group through Microsoft 365 admin center and Windows PowerShell. We will cover both the ways one by one.
Adding Members in Distribution List through Admin Center
- Visit microsoft.com and login with your admin credentials.
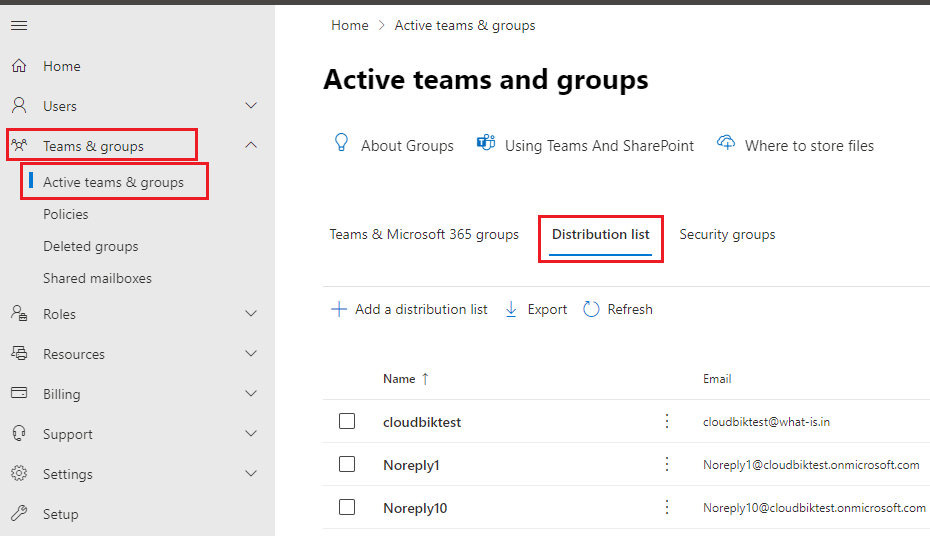
- Click Teams and Groups then Active Teams and Groups. In the Active Teams and Groups Windows, click on the distribution lists.
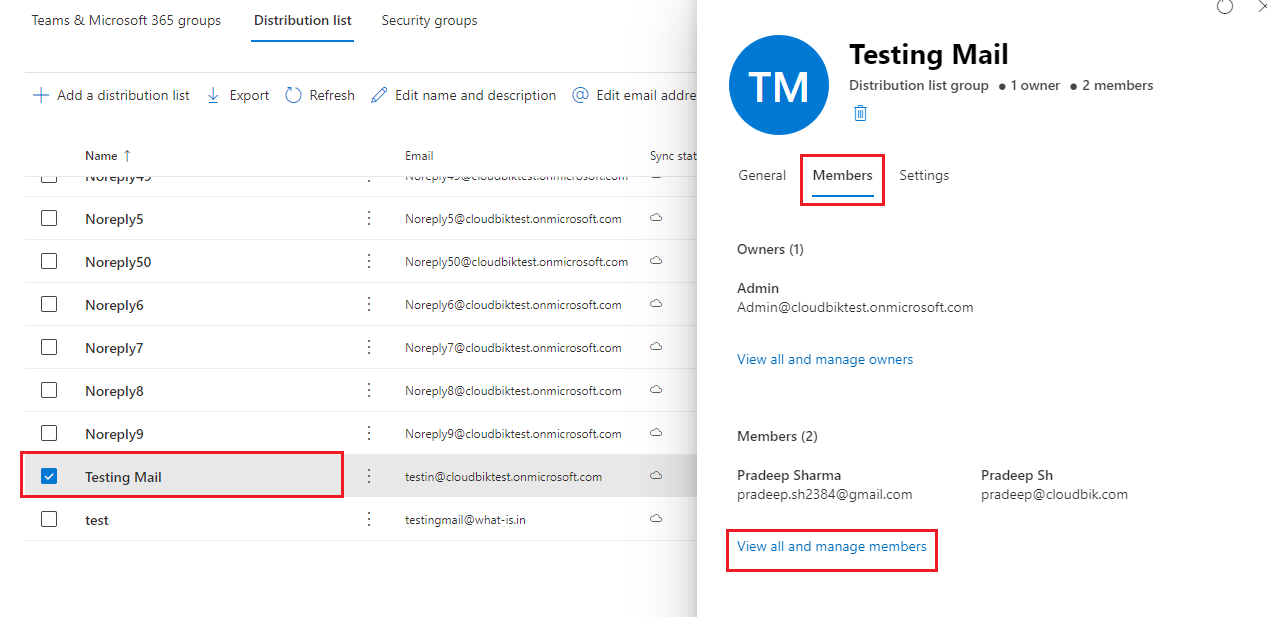
- Now click on the distribution list in which you want to add the members. Once done, click on members tab and then open View all and manage members.
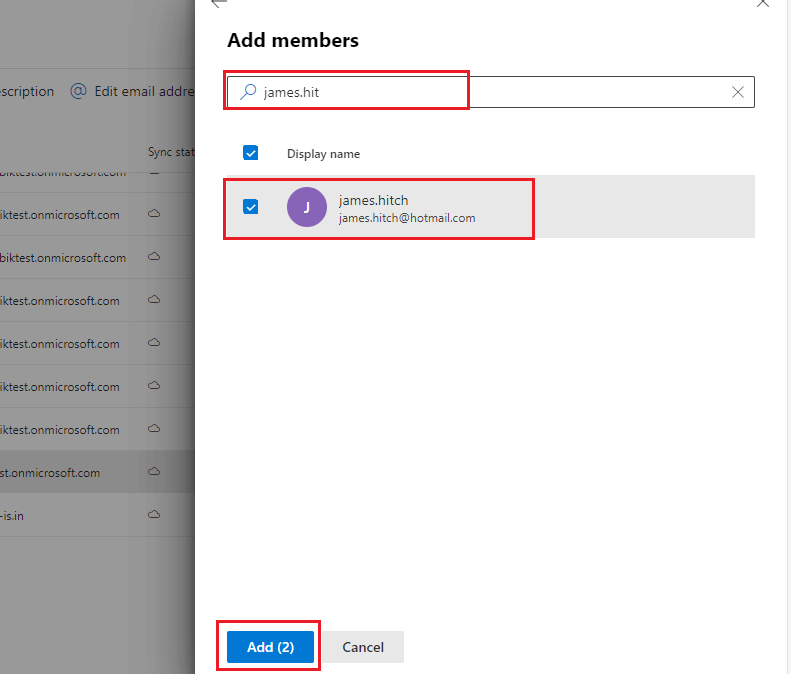
- On the members page, click on add members to add the single or multiple members.

- Search for the member, choose the member or members and click on the add button.
Add Distribution Group Members through PowerShell
As an Office 365 administrator, you can add members to the distribution list through windows PowerShell. You will be required to use Add-DistributionGroupMember command in the Windows PowerShell.
- First connect to exchange online by running the below command.
Connect-ExchangeOnline
Adding Single Member to Distribution List
- To add single member to the distribution group, run the following command in PowerShell.
Add-DistributionGroupMember –Identity "[email protected]" -Member [email protected]
Adding Multiple Distribution Group Members using PowerShell
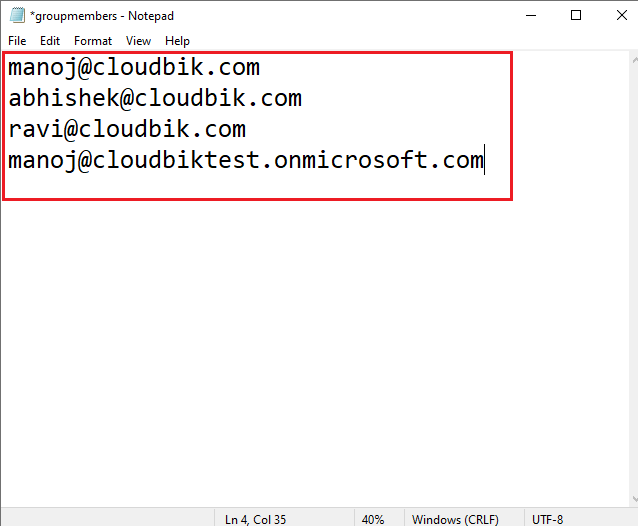
To add multiple members, you will need a .txt file containing members email address.
- Create a .txt file as shown in the image below.
- Once you have created the .txt file, run the below command in Windows PowerShell.
$GroupEmailID = "[email protected]"

$CSVFile = "C:\Users\dell\Desktop\groupmembers.txt"


#Connect to Exchange Online

Connect-ExchangeOnline -ShowBanner:$False


#Get Existing Members of the Distribution List

$DLMembers =  Get-DistributionGroupMember -Identity $GroupEmailID -ResultSize Unlimited | Select -Expand PrimarySmtpAddress


#Import Distribution List Members from CSV

Import-CSV $CSVFile -Header "UPN" | ForEach {

    #Check if the Distribution List contains the particular user

    If ($DLMembers -contains $_.UPN)

    {

        Write-host -f Yellow "User is already member of the Distribution List:"$_.UPN

    }

    Else

    {

        Add-DistributionGroupMember –Identity $GroupEmailID -Member $_.UPN

        Write-host -f Green "Added User to Distribution List:"$_.UPN

    }

}
Add Members in Multiple Distribution Lists
Adding members to multiple distribution lists can be time taking as we need to create multiple .txt files. But there is also a way to perform this operation through Windows PowerShell. Please follow the procedure below.
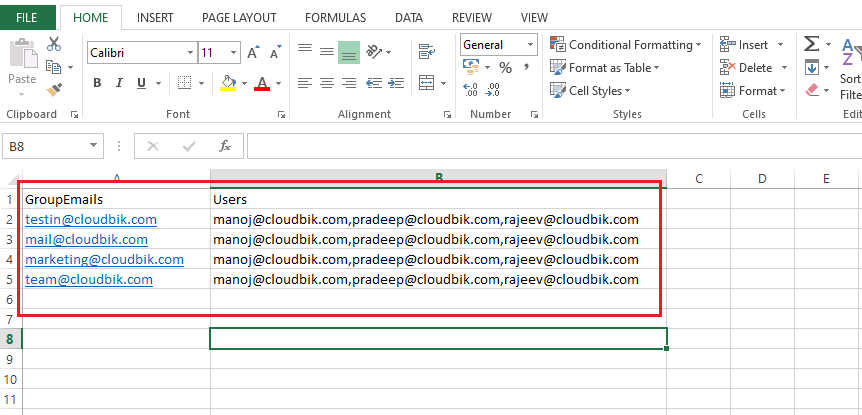
- Prepare a csv file containing group email address and users like as shown below.
- Now run the below command to add members to multiple distribution groups.
$CSVFile = "C:\Users\dell\Desktop\groupmembers.csv"

Try {

    #Connect to Exchange Online

    Connect-ExchangeOnline -ShowBanner:$False


    #Get date from CSV File

    $CSVData = Import-Csv -Path $CSVFile


    #Iterate through each row in the CSV

    ForEach($Row in $CSVData)

    {

        #Get the Distribution Group

        $Group = Get-DistributionGroup -Identity $Row.GroupEmails


        If($Group -ne $Null)

        {

            #Get Exisiting Members of the Group

            $GroupMembers = Get-DistributionGroupMember -Identity $Row.GroupEmails -ResultSize Unlimited | Select -Expand PrimarySmtpAddress


            #Get Users to Add to the Group

            $UsersToAdd =  $Row.Users -split ","


            #Add Each user to the Security group

            ForEach ($User in $UsersToAdd)

            {

                #Check if the group has the member already

                If($GroupMembers -contains $User)

                {

                    Write-host "'$($User)' is already a Member of the Group '$($Group.DisplayName)'" -f Yellow

                }

                Else

                {

                    Add-DistributionGroupMember –Identity $Row.GroupEmails -Member $User

                    Write-host -f Green "Added Member '$User' to the Group '$($Group.DisplayName)'"

                }

            }

        }

        Else

        {

            Write-host "Could not Find Group:"$Row.GroupName

        }

    }

}

Catch {

    write-host -f Red "Error:" $_.Exception.Message

}
With the above methods, one can add distribution group members easily through admin center and Windows PowerShell.
Conclusion:
This article discussed multiple ways to add distribution group members. Whether you need to add single member or multiple members, this guide has got you covered. PowerShell made the process quite easier and time saver. By adding members to the distribution lists to send emails to specific group, you can save your precious time. Feel free to reach out to us in case of any queries.

