Many Individuals and business professionals are using Microsoft Outlook, SharePoint, and Teams. Sometimes they need to store and secure their business data. So, here today we will talk about how you can retain and store your data through the retention policy Office 365.
In this article, we will discuss the following things
- What is the Microsoft Office 365 retention policy?
- Difference between data retention and archiving?
- How to implement the retention policy in Office 365 through the Compliance Center and Power Shell?
- Limitations of Office 365 retention policy
Contents
What do you understand by the retention policy Office 365?
Some Peoples confuse between Retention Policy and Backup Microsoft office 365 but they both are different let’s discuss how? Microsoft Office 365 retention Policy and retention label is a set of automated rules that are used to manage and store corporate data and saves cost on storage.
Office 365 files, documents, and emails are permanently secured with the help of retention policies and retention labels.
- Using the Exchange retention policy you can implement rules on all items and documents with few exceptions.
- You can customize settings for a single folder, document, file, and email in retention labels and it can be applied both manually and automatically.
How to implement Microsoft Office 365 retention policy?
Here we will talk about two methods to implement the Outlook retention policy
- With Microsoft Office 365 Compliance center
- Using Microsoft Power Shell
Step by Step guide to create retention label via Compliance center.
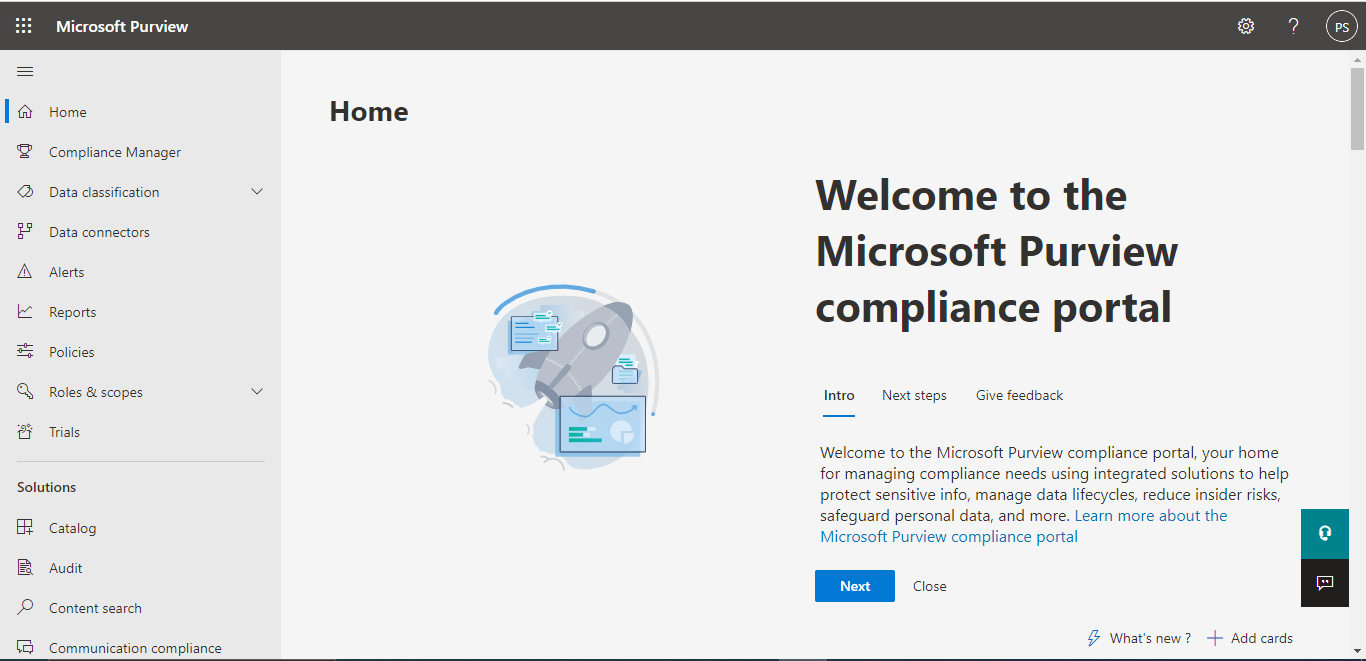
Step1: First Visit Microsoft Purview in Office 365
Step2: On the left Menu bar select Data Lifecycle management>Microsoft 365.

Step 3: Click on Labels and create a new one. 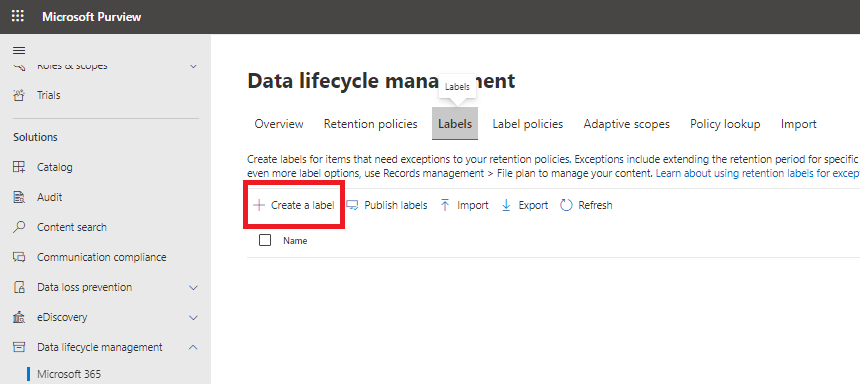
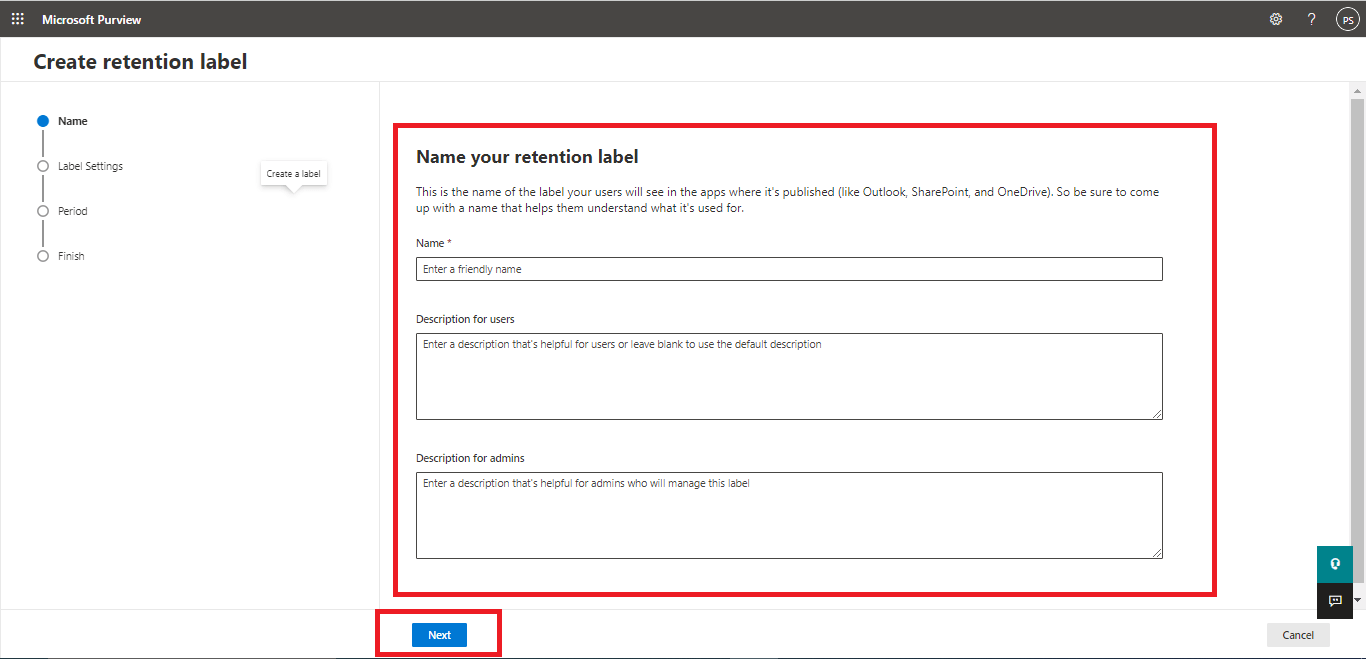
Step 4: Fill your details such as Name, description, etc. and click on next.
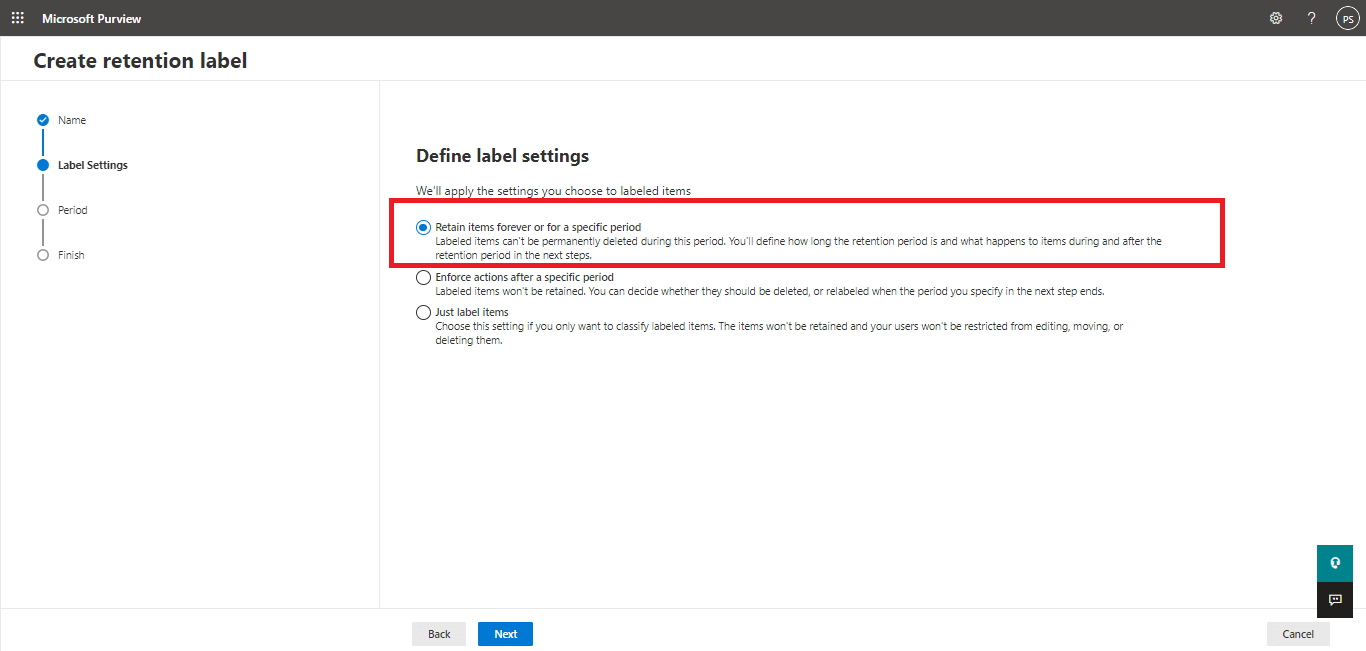
Step 5: Now Choice your label settings from these option according to your preference.
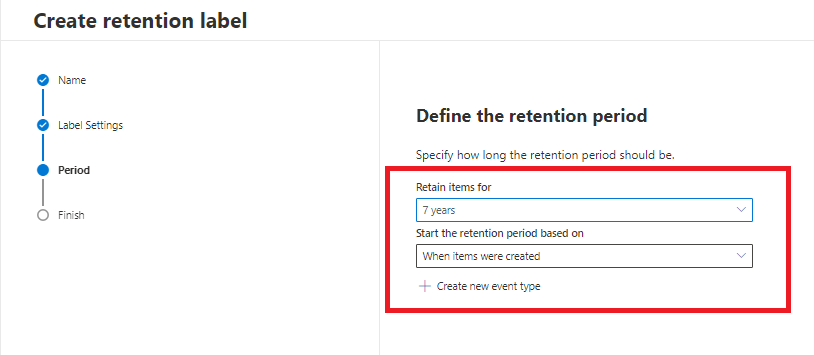
Step 6: Then select your time period and retention period for how long you want to retain your data.
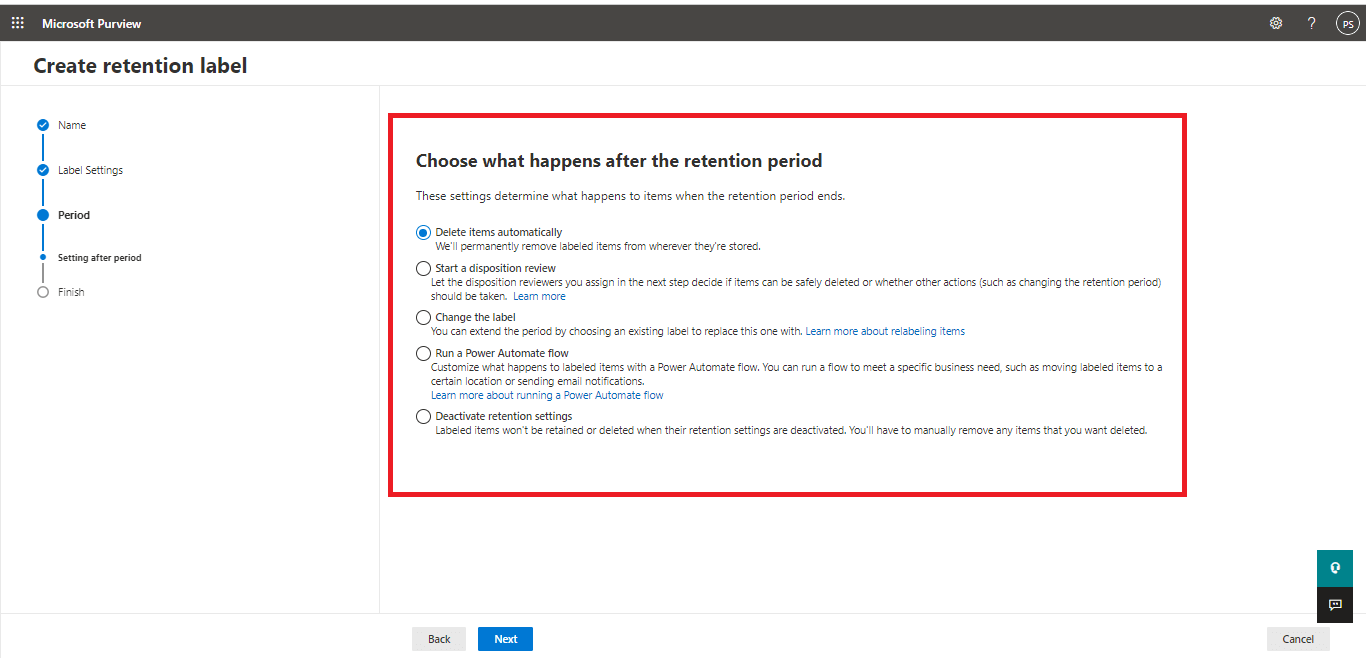
Step 7: Choose what happens to items when the retention period ends.
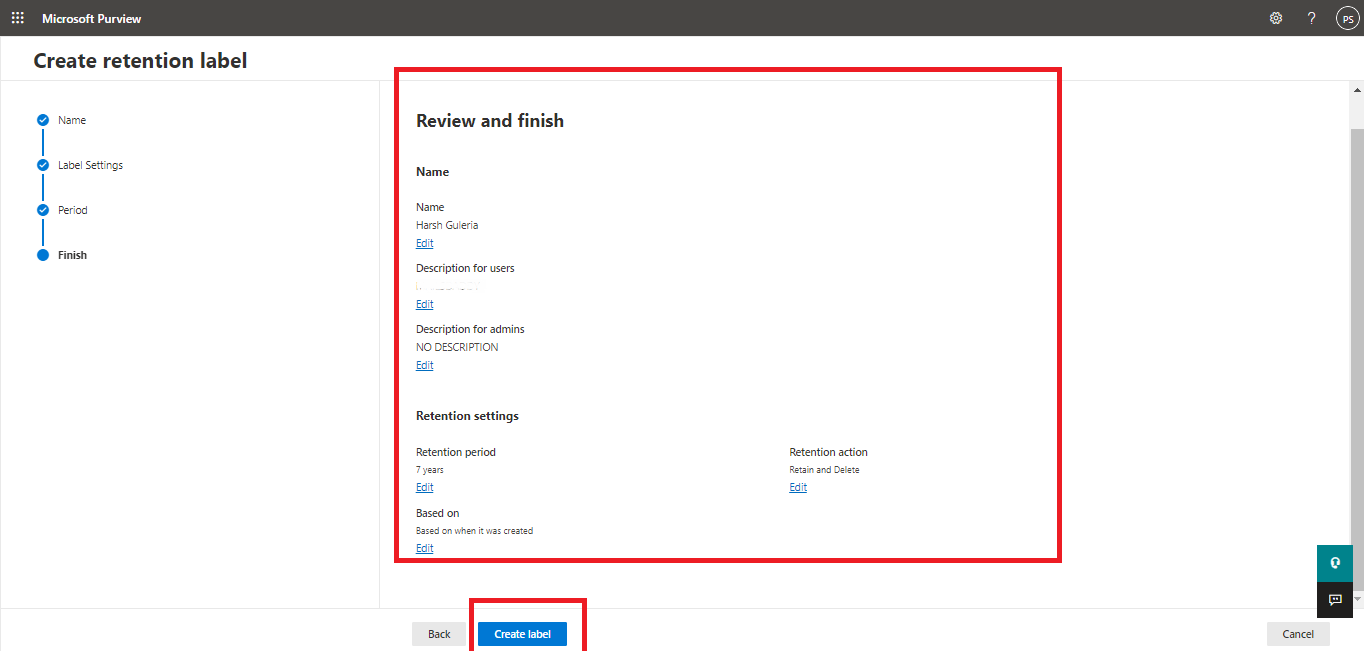
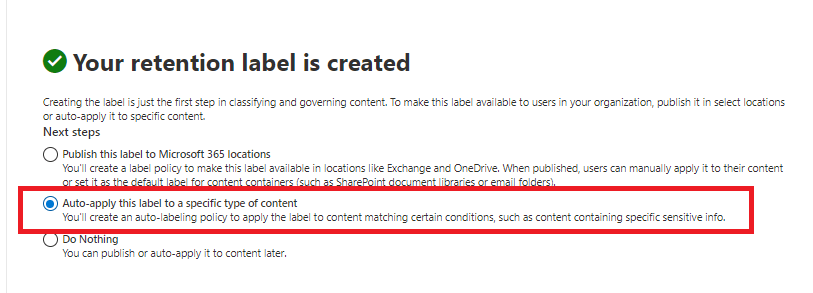
Step 8: Review and Complete your process (Create a Label)
Step 9: Then move on to the Auto-Labeling policy and Choose the auto labeling option
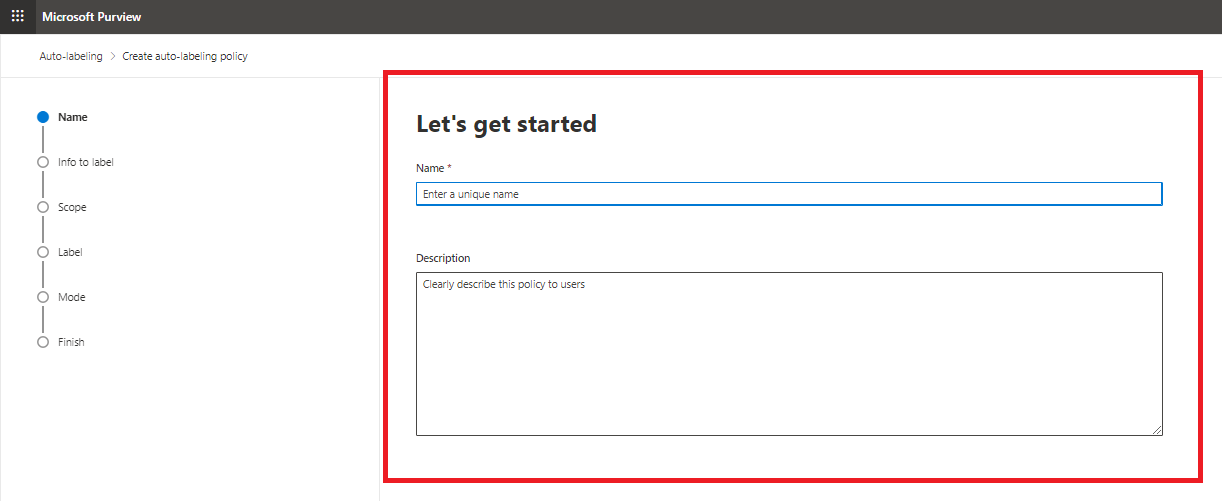
Step 11: Fill the details such as name and description
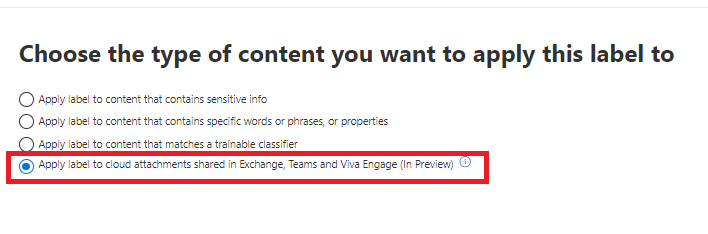
Step 12: Choose the last option Apply the label to cloud attachments, Teams, and Viva Engage.
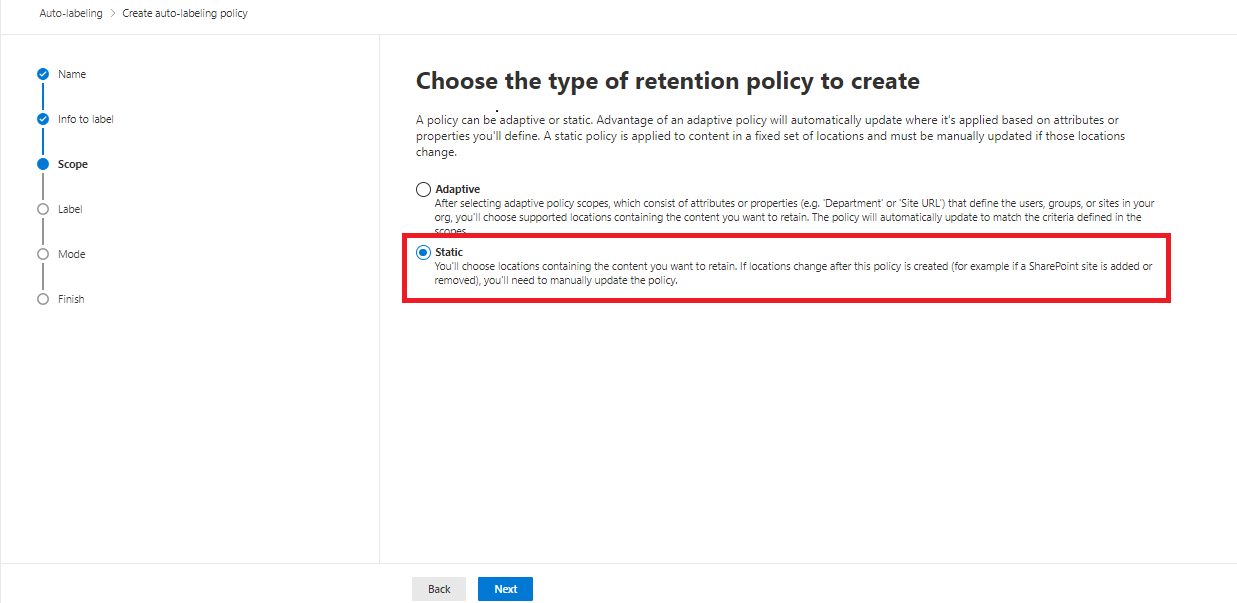
Step 13: Select Static One to create a retention policy.
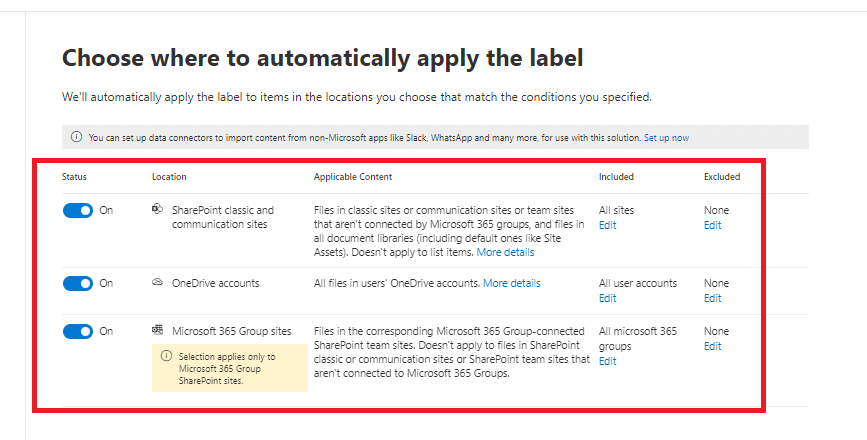
Step 14: Select where you want to apply the label.
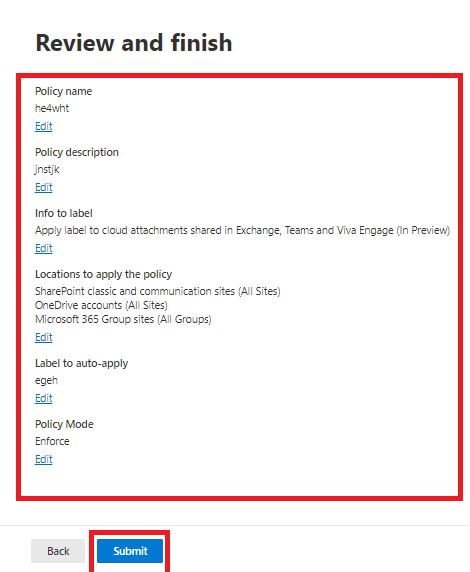
Step 15: Then end your process and submit it. (Edit if you want)
I hope you understand the whole concept Now let’s move on to the next process.
How to create a new retention policy
Step 1: First Click on New Retention Policy

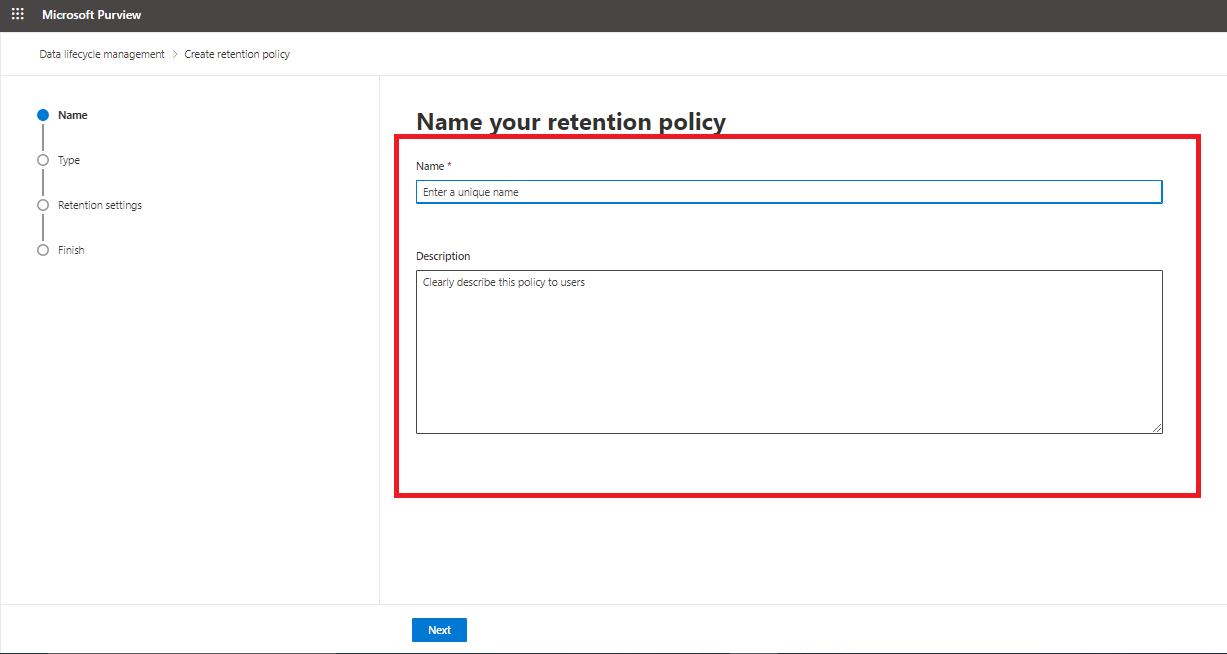
Step 2: Write Name of your retention policy
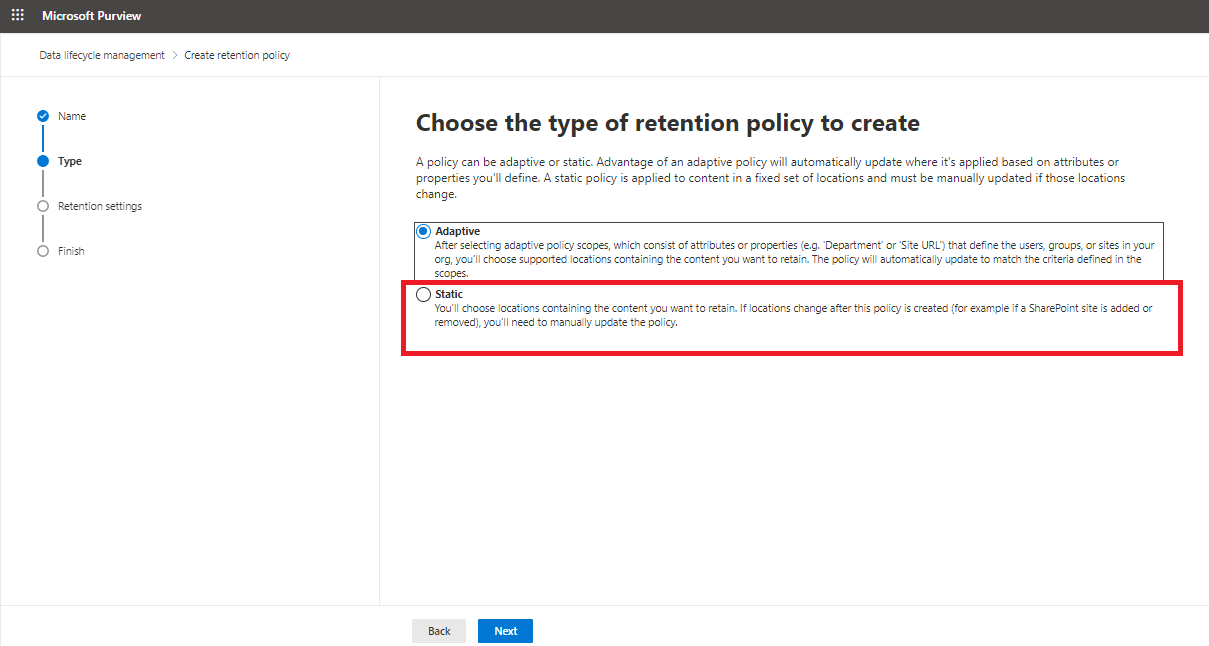
Step 3: Select Static Type and Click on the next button.
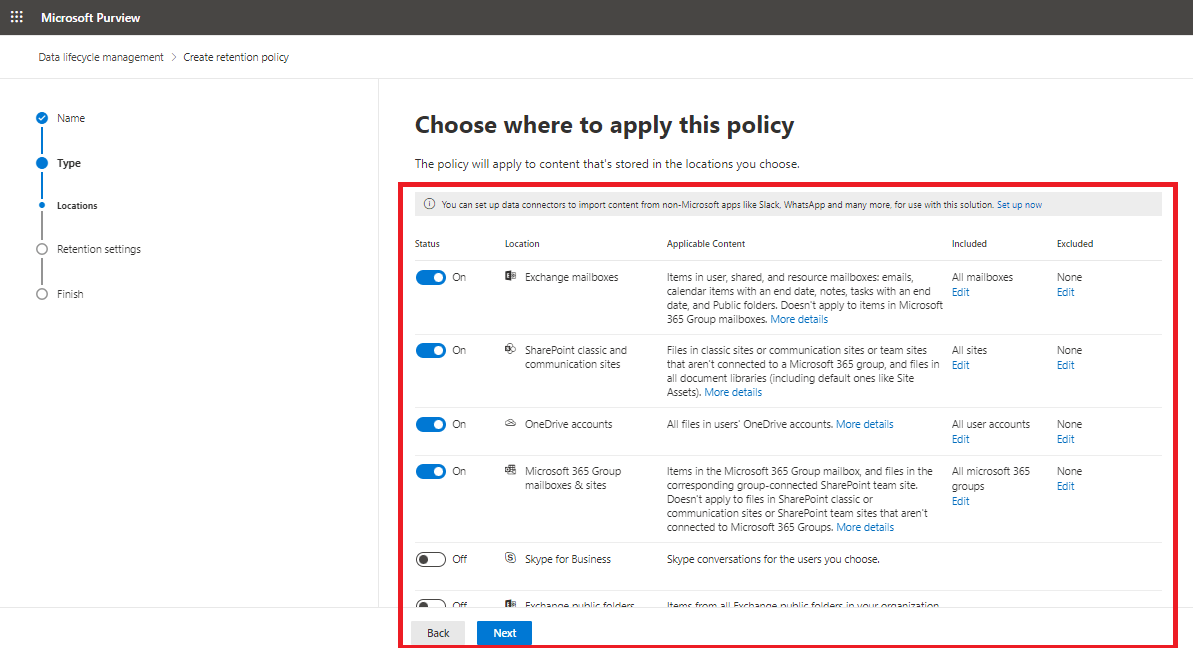
Step 4: Choice where you want to apply this policy
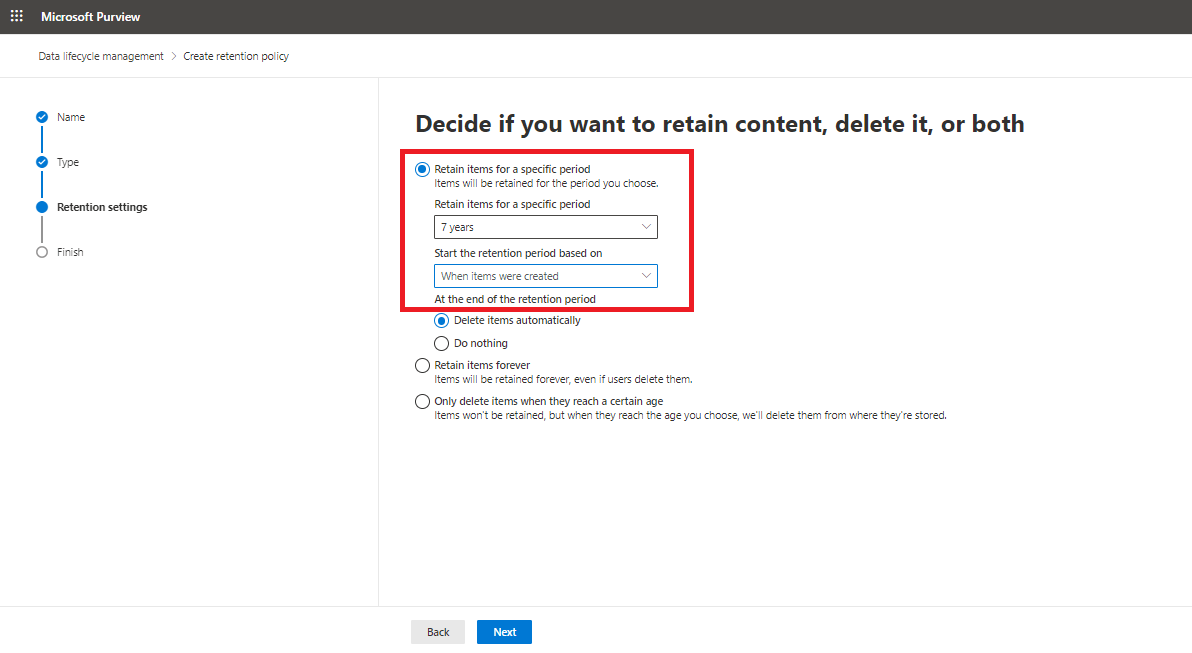
Step 5: Then select your Time period and Retention Period.
Step 6: In the last Review and finish your process (Edit if you want) and submit your process.

Implement Office 365 Retention Policy Using Power shell
Step 1:Create Retention Label Policy First
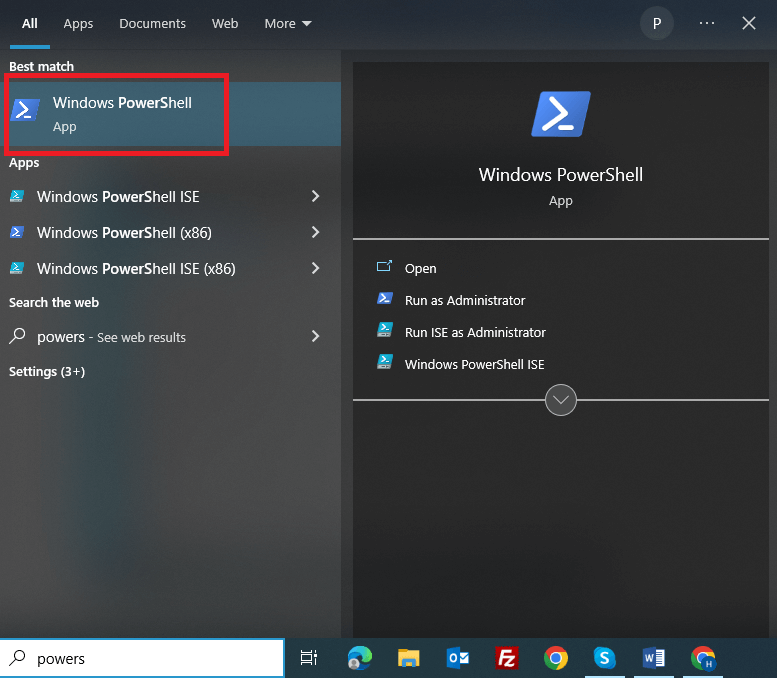
Open Power Shell by typing “Power Shell” into the Windows search box.
Step 2: Execute Command Connect – IPPSSession

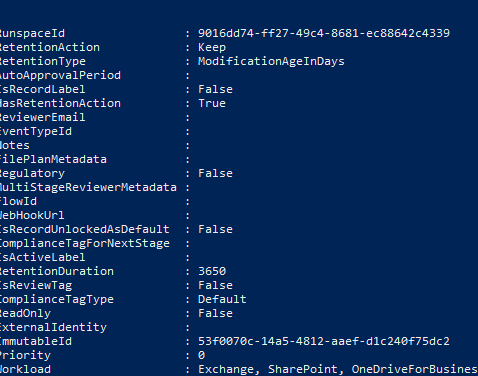
Step 3 :Follow and write This Script to create a label.
New-Compliance Tag -Name “Excel documents” –Retention Action Keep –Retention Duration 3650 –Retention Type Modification Age in Days.
Now create a retention policy using Power Shell
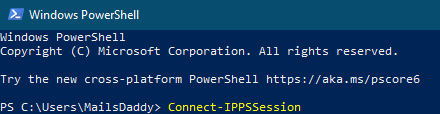
Step 1: On your computer, look and then launch Windows Power Shell
Step 2: Type this command Connect-IPPSSession

Step 3: To create a retention policy, execute a different script.
New-Retention Compliance Policy -Name “Excel Documents” –SharePoint Location All

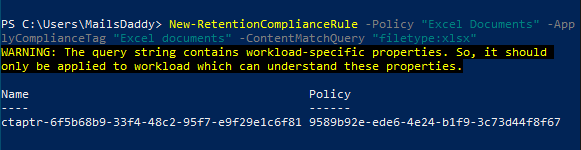
Step 4: Execute this command to create a rule to retain Excel files for the policy created above:
New-RetentionComplianceRule -Policy “Excel Documents” -ApplyComplianceTag “Excel documents” -ContentMatchQuery “filetype:xlsx”
We discussed all types through which we will implement Microsoft Office 365 retention policy. I hope you understand completely. Now let’s talk
Why do we need to use Microsoft Office 365 retention policy?
Exchange retention policy is a powerful tool through which we can retain and secure our Microsoft data safely. In the retention policy, we also have the option to select a time period and retention period.
For Example – If you run a business you’ve most likely got people working for you. So, how do you know how they are handling their emails? Maybe they’re deleting emails just to clear up some space or because they think they don’t need that particular email anymore. So, what if two or three years later you need an important email? How can you be sure that email is still in your Microsoft 365 ecosystem? Without a retention policy, you cannot do it.
One of the other reasons to configure the Office 365 retention policy is to retain or delete emails, files, etc, automatically.
Distinguish between Archive and Retention Policy
Sometimes we get confused between retention policy and Archive. When it comes to an online archive the user is fundamentally responsible for what they keep and what they delete. The online archive is really for user convenience, not compliance.
- If you wanted to restore an entire mailbox for a certain point in time you wouldn’t be able to do that with an archive whereas you can do this with retention policy.
- Another reason is if you want to take out the particular email from your mailbox which was sent on 25th Oct 2019. For this you don’t have many options in the archive. In other hand retention policy will give you this freedom to take out any particular email from your mailbox.
Some Limitations of Office 365 Retention Policy
- You can only apply a single retention label at a time.
- It cannot retain some items like calendars, the site looks/themes, other settings, etc.
- One cannot retain chat attachments and group data that are not linked to SharePoint.
Conclusion
In this whole article, we discuss the retention policy Office 365. This article also covers step by step process to create retention policies using admin center and Windows PowerShell. It clears confusion between archive and retention policies. With explaining why you need to use the retention policy Office 365.
If you have any query related to anything feel free to contact us.

