Recently, Microsoft announced Loop, an advanced-level collaboration tool that is available for public preview. Microsoft Loop is a valuable tool for businesses looking to increase their productivity and accomplish more in less time. It provides users with real-time insights into team performance or projects so they can make informed decisions quickly without having to switch between applications or platforms. First, we need to enable loop to use in your organization because it is disabled by default.
Its security features protect your data from unauthorized access while still allowing you to collaborate securely across teams within your organization. It streamlines tasks like project management, collaboration, document sharing, and more – all with just a few clicks!
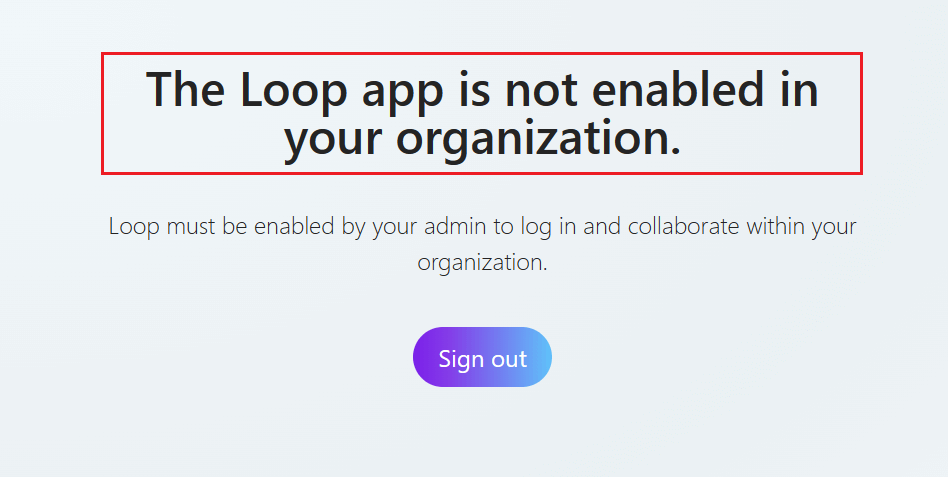
So in this guide, we will see how to enable Microsoft Loop in your Microsoft 365 account. When we log in using Office 365 credentials in Microsoft Loop, it shows the error “The Loop is not enabled in your organization”. We will perform some steps like creating policies and enabling Loop through SharePoint Online Management Tool.
Contents
How to enable Microsoft Loop in your Organization?
You need to perform the below activities to successfully enable Loop in your Microsoft 365 Organization.
- Add Security Group in Microsoft Office 365.
First, we need to add a security group in Microsoft 365. After adding the Security Group, we need to add members to the security group for whom we want to enable Loop in your Organization.
- Create Policy through Admin Center.
In this, we need to create policies for Microsoft Loop through Microsoft 365 Admin center. You will need admin login credentials.
- Enable Loop through SharePoint Online Management Tool.
Here we need to check and enable Loop using SharePoint Online Management Tool. By performing these two steps, you can successfully enable Microsoft Loop in your Microsoft 365 Organization.
First, we will see how to add a security group in Microsoft 365.
Add Security Group in Microsoft 365
- Visit office.com and log in using admin credentials.
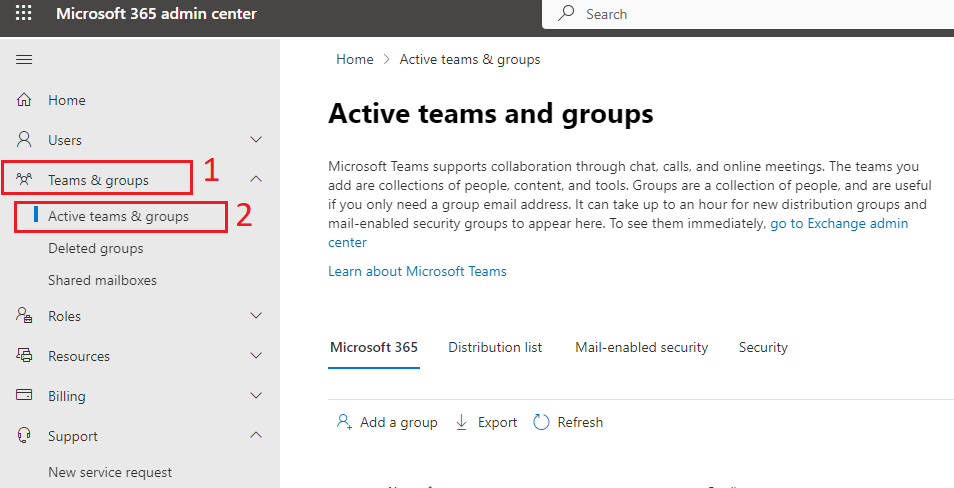
- Go to Teams and Groups then click Active Teams and Groups. Now click on Add a Group.
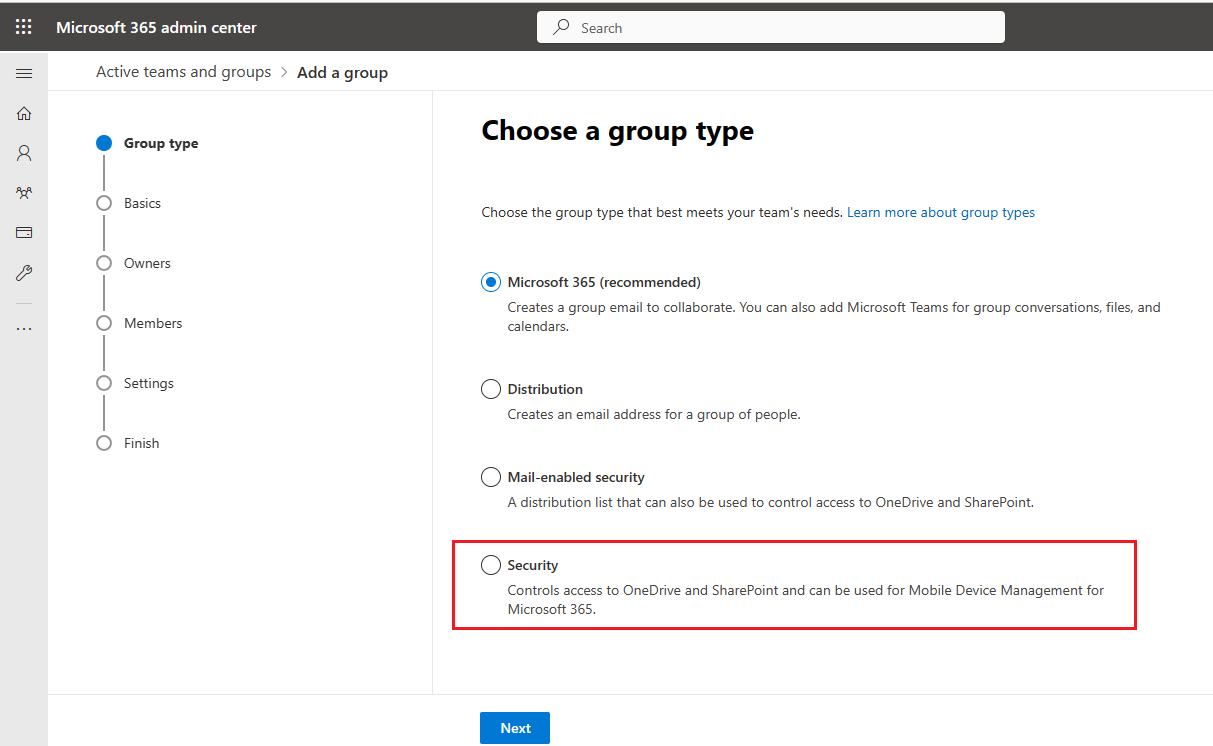
- Create Group window will open. Here you will need to choose Security and click on the Next button.
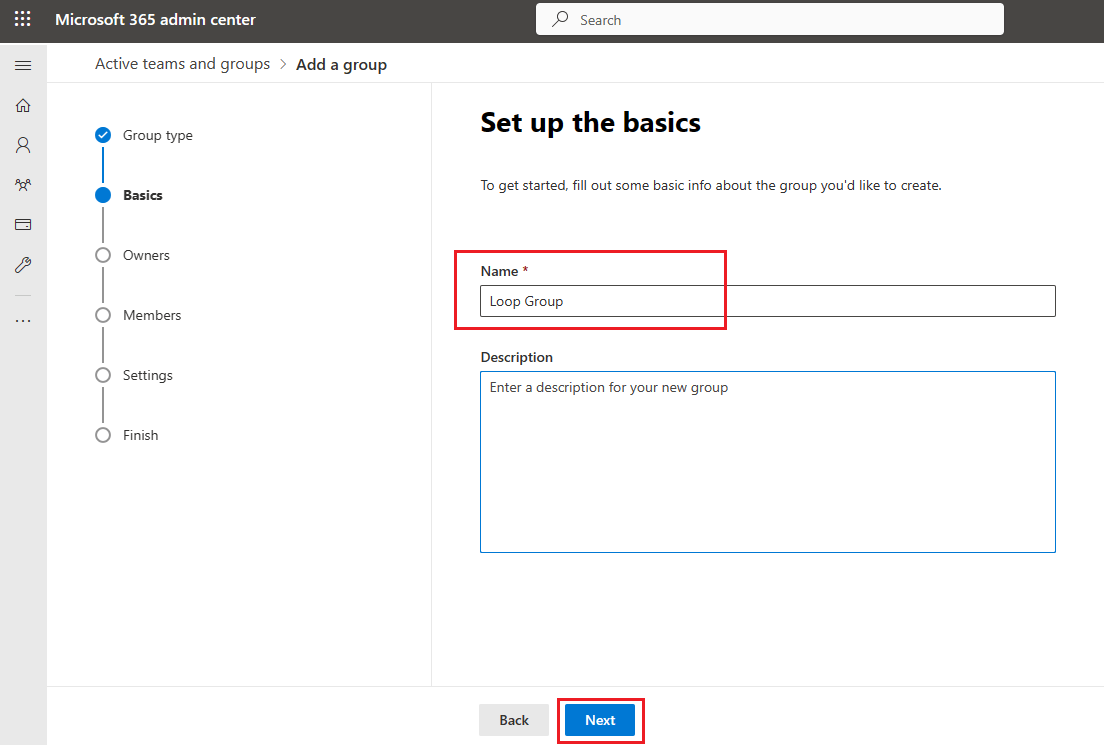
- In this window you need to provide the Group name and Description. Type any name and description and click on the next button.
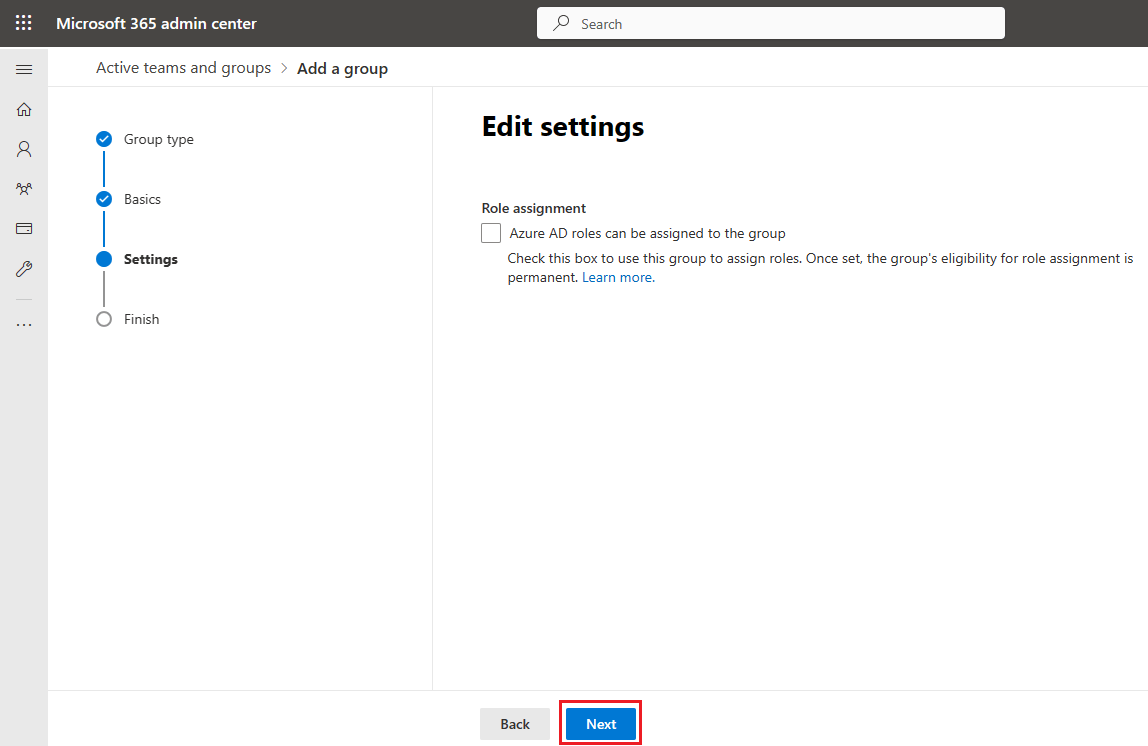
- Now the Role Assignment window will open, leave it as it is and click on the next button.
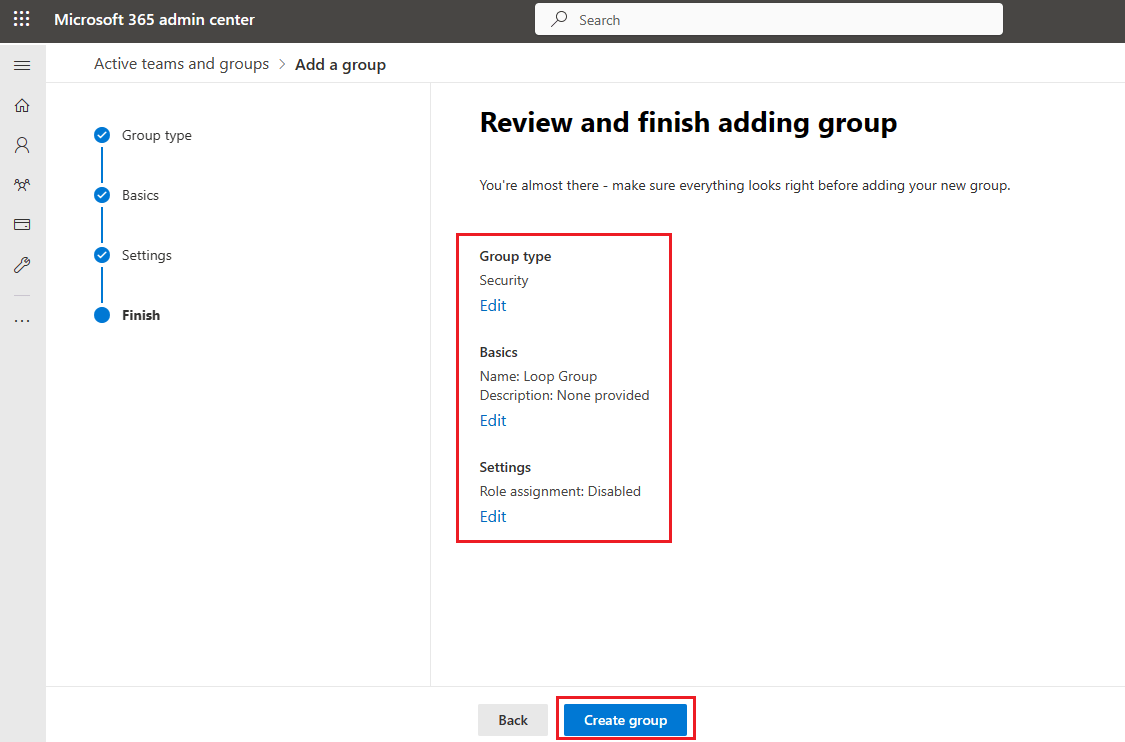
- Review and finish adding group window will open. Here review your settings and click on Create Group.
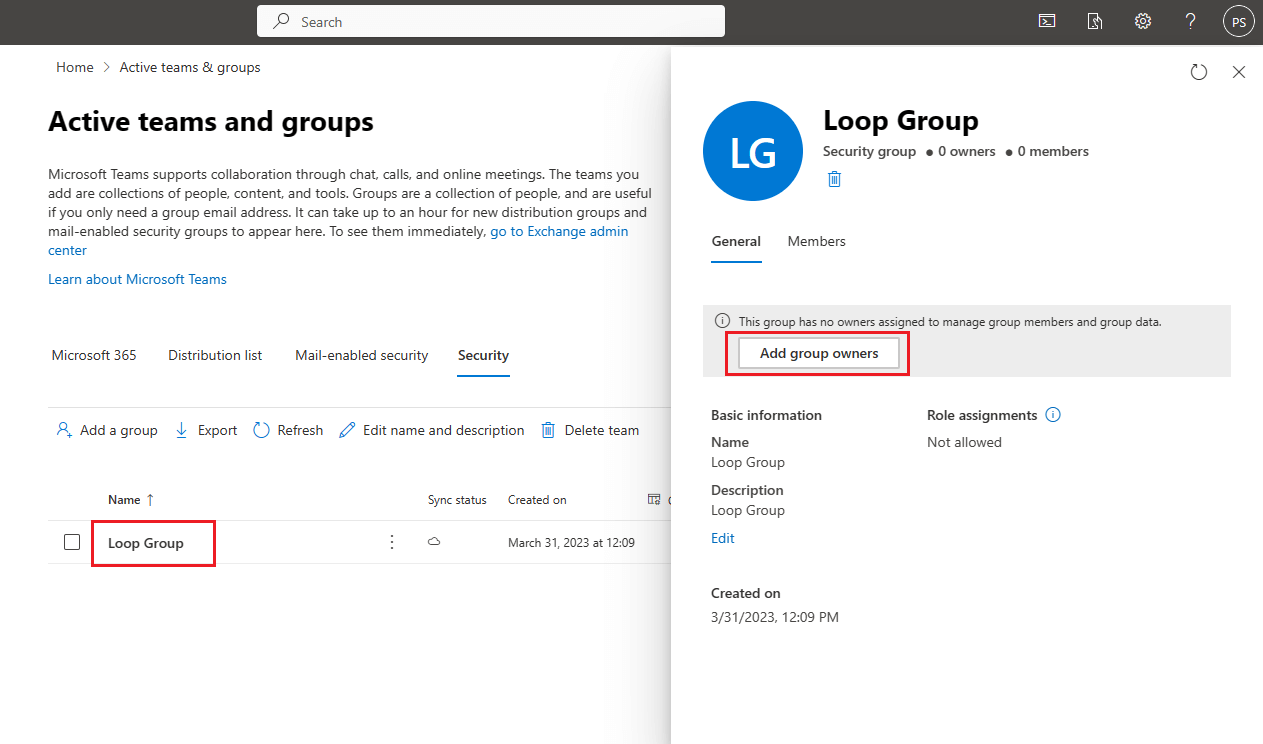
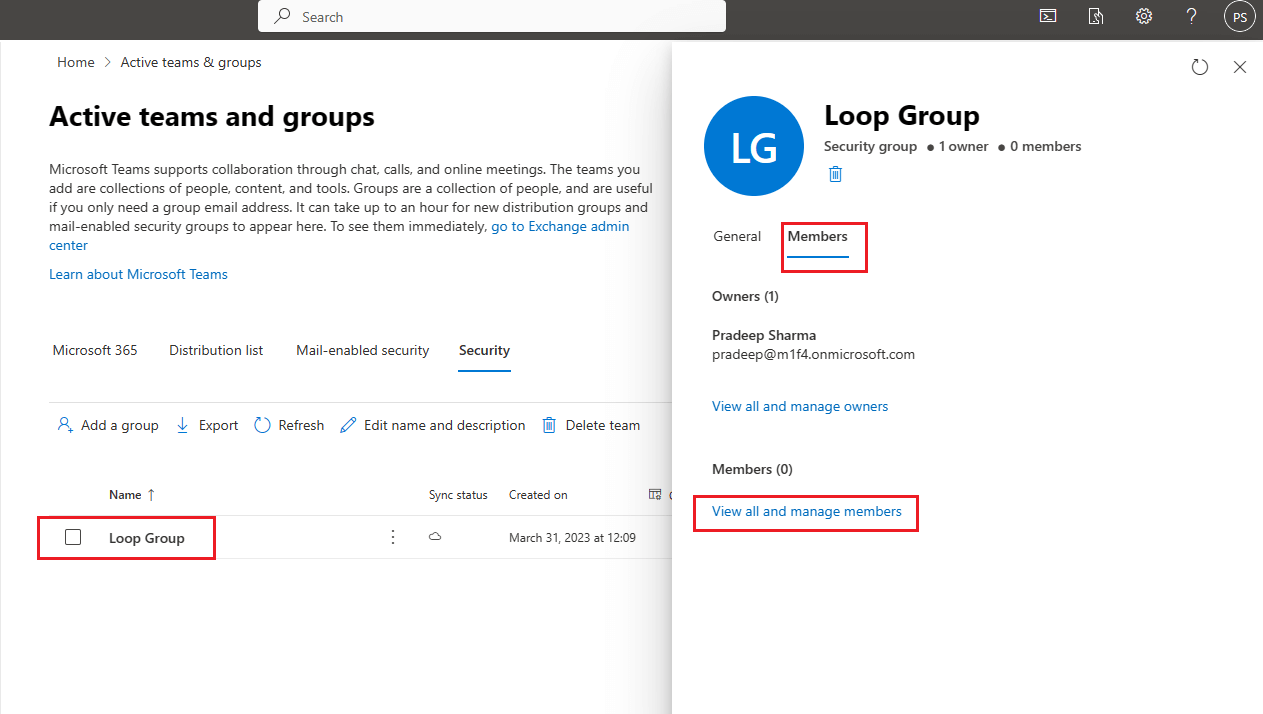
- Once your Security Group has been created, Click on that group. A Group window will open on the left side, click on Add group Owners, and in the next window choose the owner and click on the add button.
- Once you have added Group Owner. Now you need to add members in the security group for whom you want to enable Loop in your Organization. Click on Members and then choose view all and manage members.
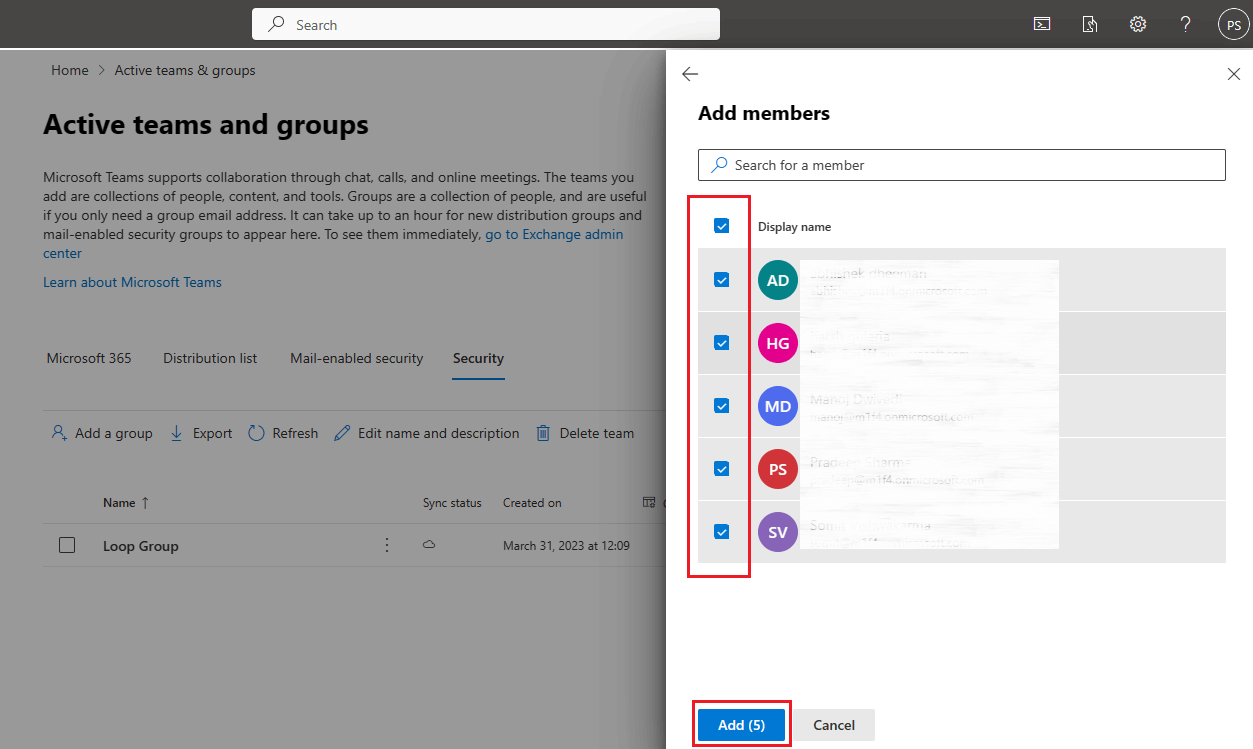
- In the next window you will see all the members. Choose the members and click on Add to add the members to the security group.
Our security group is created and ready. Now let’s see how to create a policy for enabling the Microsoft loop in your organization.
Create a Policy to configure loop in Microsoft Office 365 account.
This section describes how to create a policy to enable Microsoft Loop in your Organization. Below are three scopes that we need to add to the policy. Depending on your needs, you can add any of these or all three scopes.
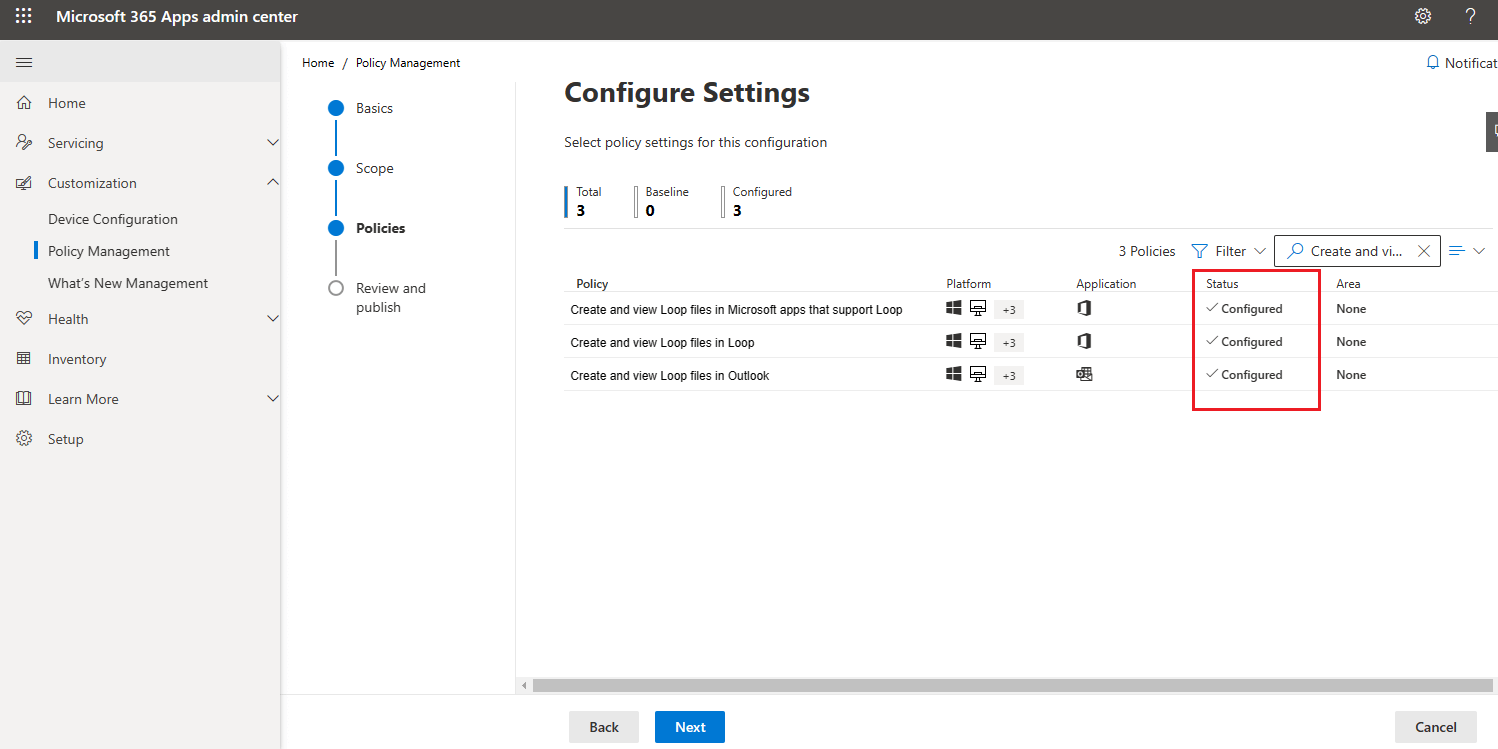
- Create and view Loop files in Microsoft apps that support Loop
- For Create and view Loop files in Outlook
- For Create and view Loop files in Loop
Below are the steps that needed to be performed to create a new policy:
- First visit office.com and log in using admin credentials.
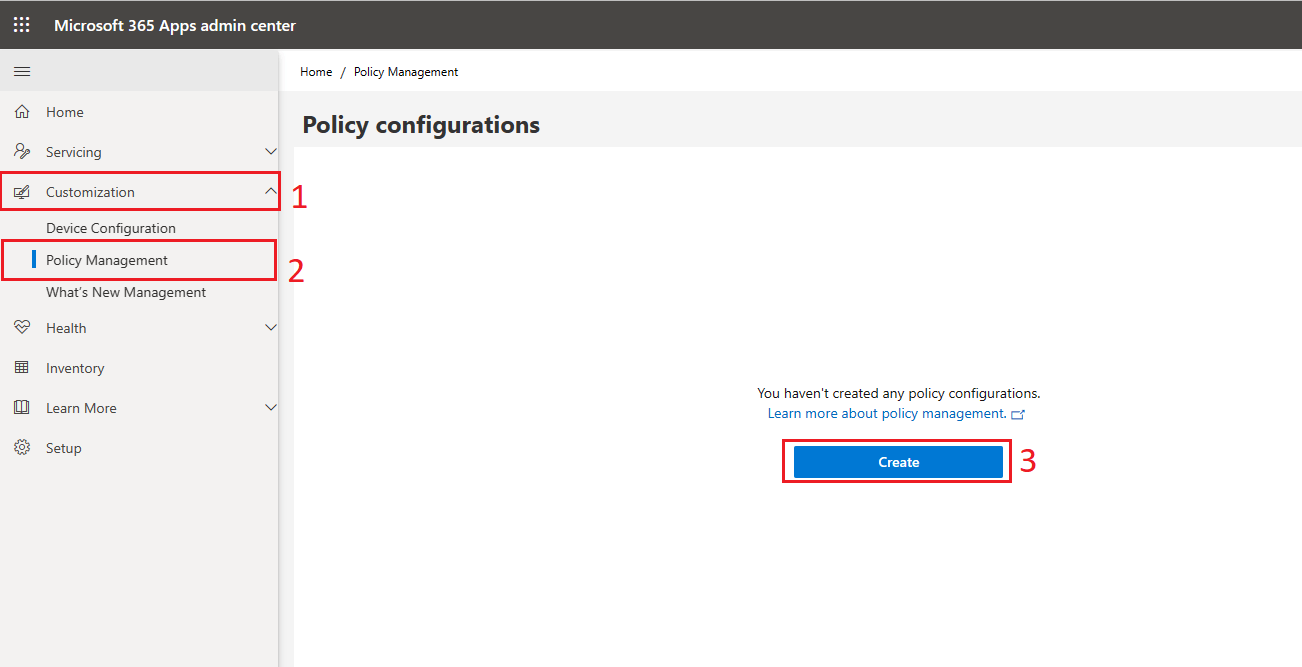
- Now click on Customization then Policy Management. A policy configuration window will open, click on Create button to create a new policy to configure Microsoft loop.
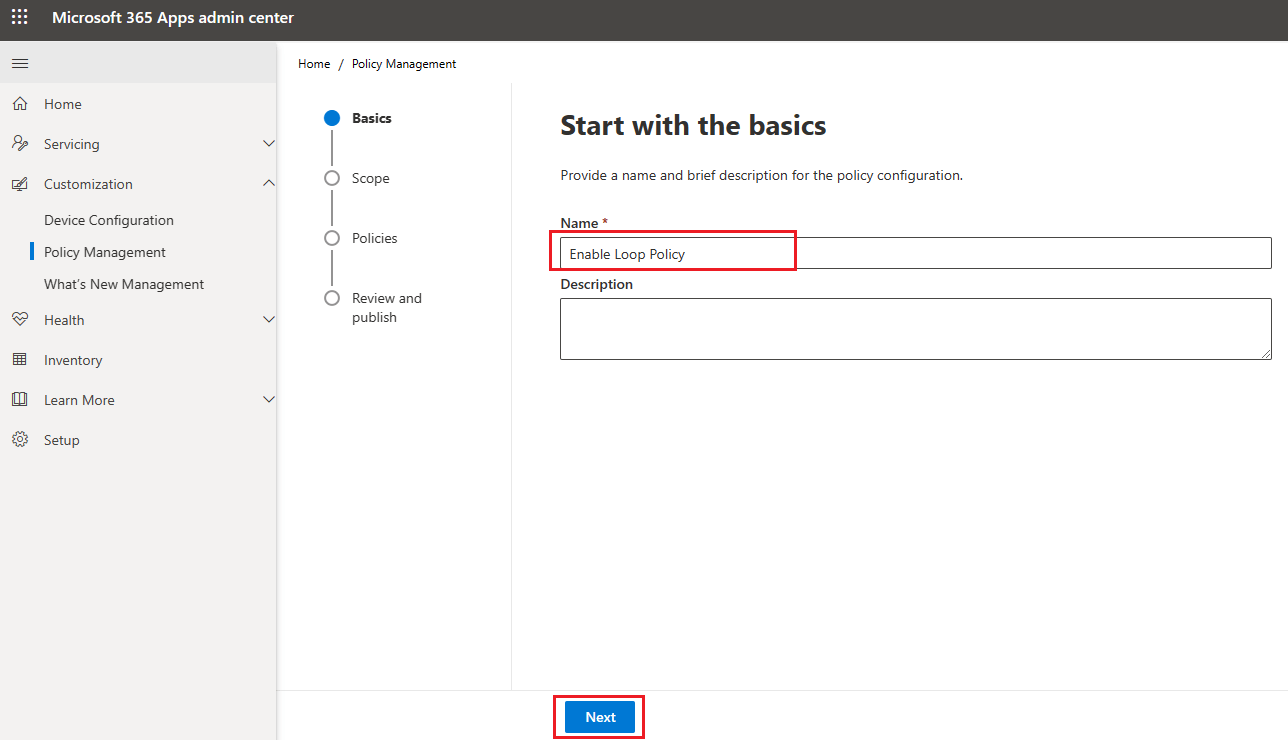
- Now provide the name for the Policy and click on the next button.
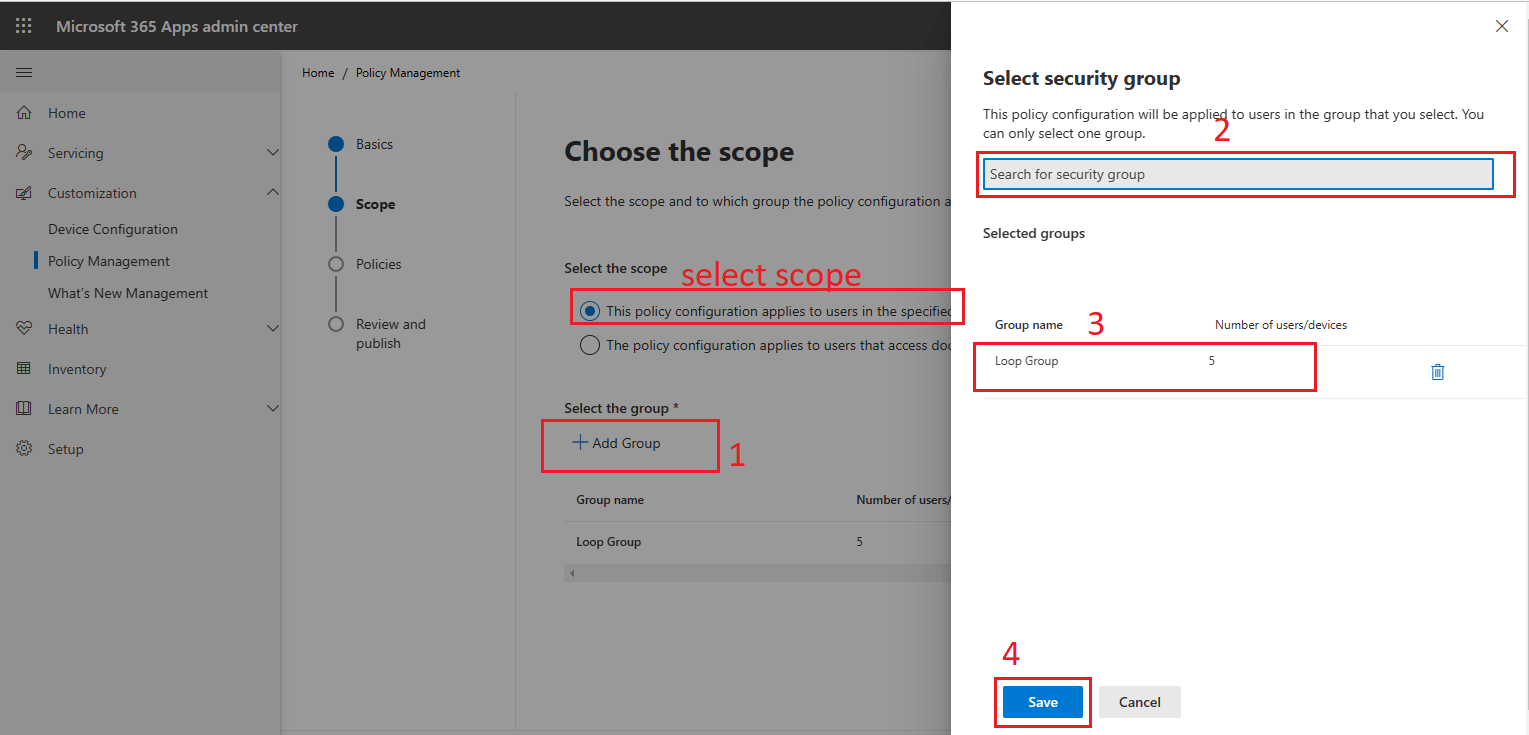
- Now Choose the scope window will open. Select the scope “This policy configuration applies to the users in the specified group”. Now click on Add Group. A new window will open, select your security group and click on the save button.
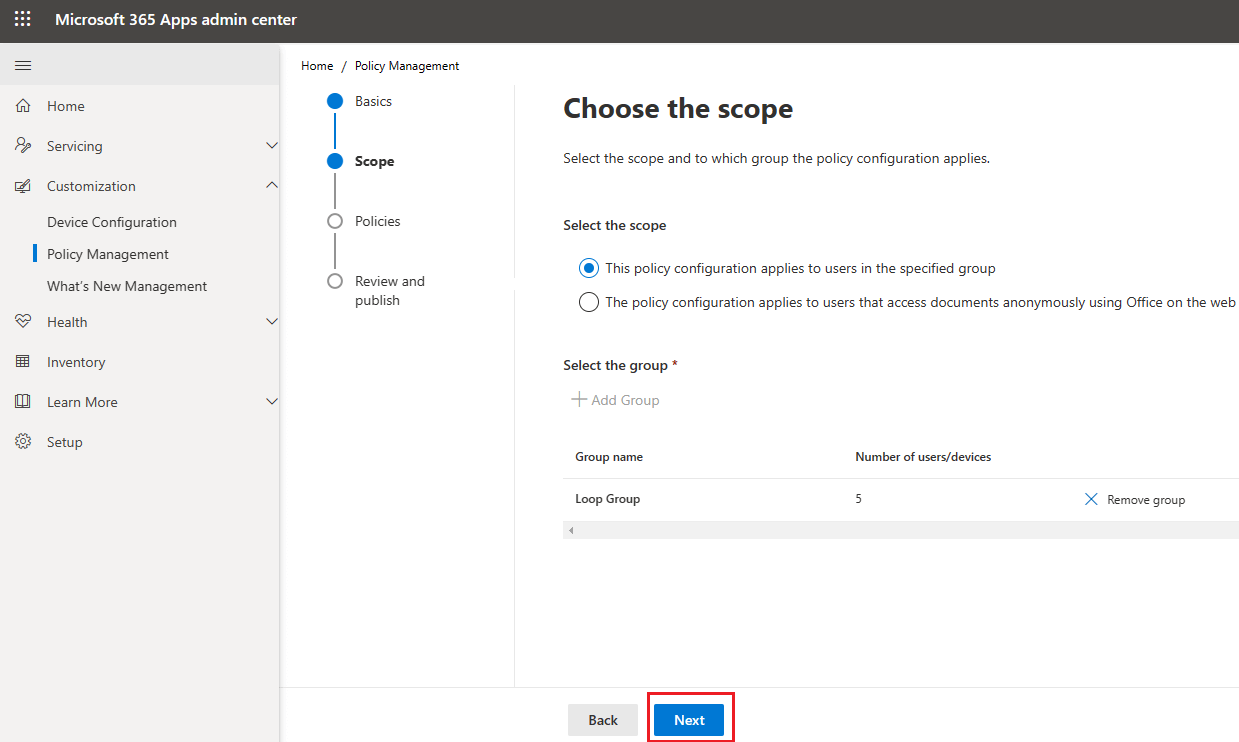
- Once you have saved the group, click on the next button to proceed further.
- Now you need to choose the policies. Search for create and view loop files, add all three policies and click on the next button.
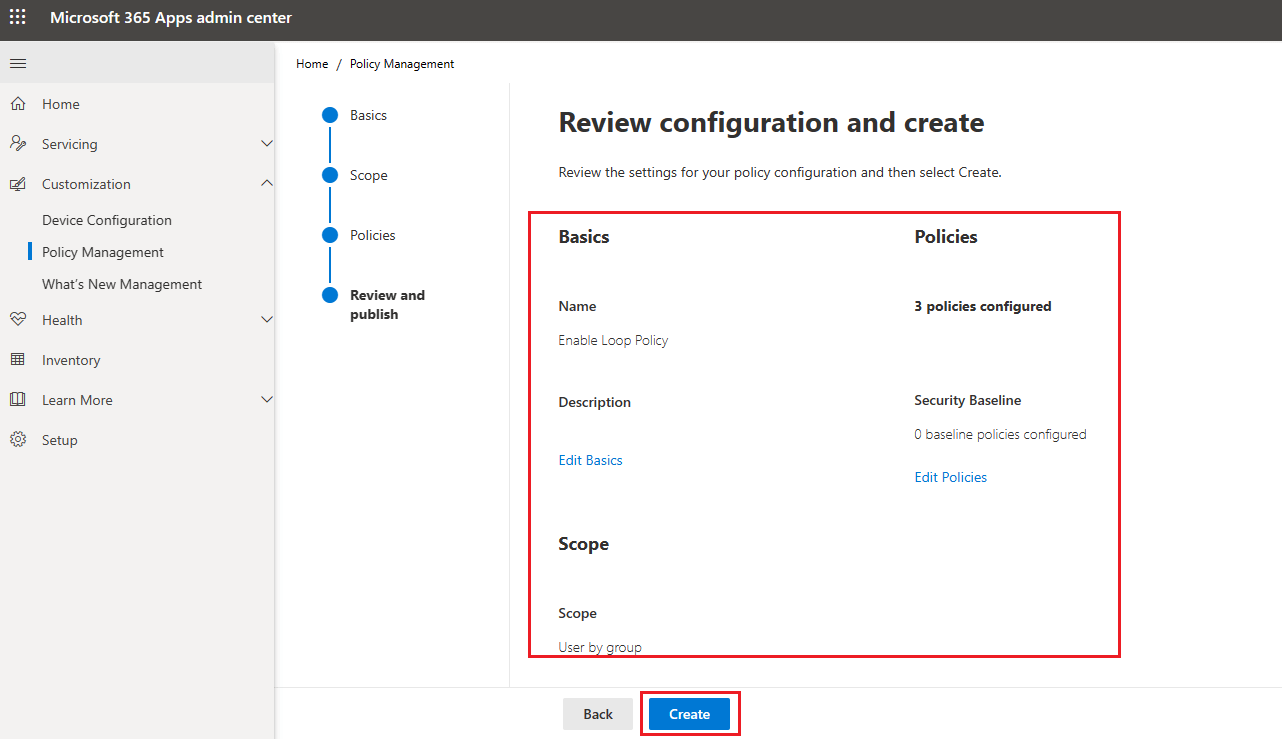
- Now review the configuration and create a window will open. Review your settings and click on create button.
Once the policy is created, you need to enable loop through SharePoint Online Management Tool.
First, you need to install the latest SharePoint Online Management Tool if you do not have one. Once installed follow the below steps.
- Run the SharePoint Online Management Tool and connect to SharePoint Online using the admin credentials by running the below script.
[script]Connect-SPOService –Url https://yourdomain-admin.sharepoint.com/[/script]
- Once connected type the below script to check if Loop is enabled or not.
[script]Set-SPOTenant -IsLoopEnabled[/script]

– If the loop is enabled then the result will be shown as true.
– If Microsoft Loop is disabled then you will get the result as False.
- If the result is false, run the below script to enable the loop in your organization.
[script]Set-SPOTenant -IsLoopEnabled $true[/script]
Using the steps above you can successfully enable Loop in your Microsoft 365 account and explore what loop can do to increase your organization’s productivity.
Conclusion:
This article describes how to enable Microsoft Loop in your Organization. Overall, Microsoft loop is an amazing productivity tool that helps organizations increase productivity and work efficiency. If you are the one who had not tried it yet, do it now.
Read more: Microsoft 365 Copilot and its integration into Microsoft 365

